Scaf 101: Build 5, A-frame swingset →
Published February 28, 2016 · Parkour
This entry is part 10 of 13 in the series
Scaf 101By now, you should be pretty comfortable with these builds. So for this one, I’m going to start off by making a poor decision, so you can see how it doesn’t work out at the end. Then I’ll make a change and show it rebuilt.
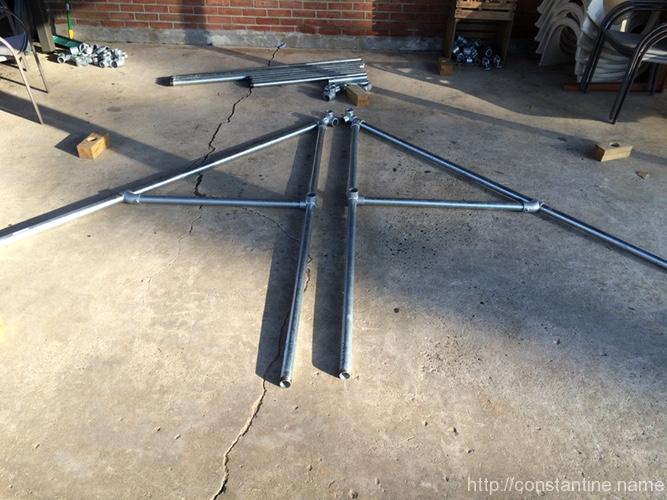
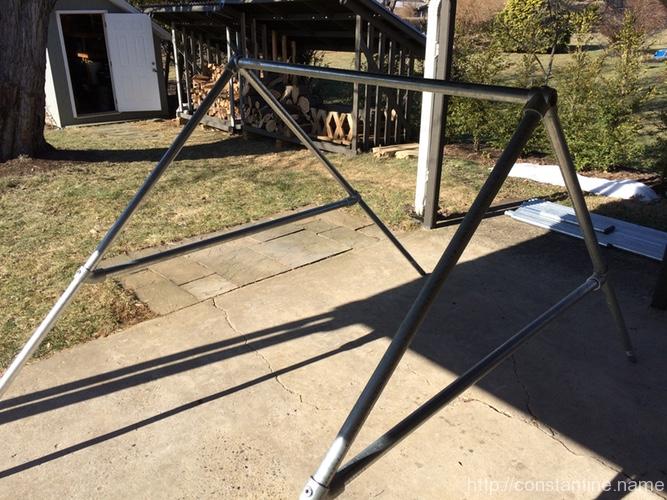
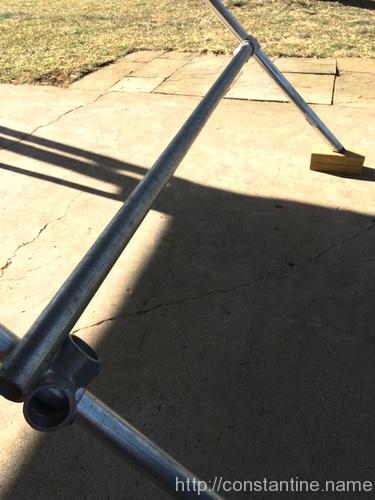
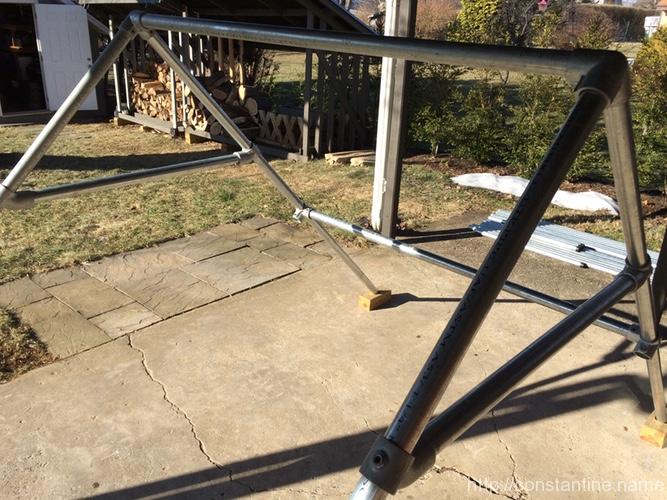
Here’s a layout shot for one A-frame end of a “swing set”. If you look at the apex closely, you’ll see I was considering using a side outlet elbow. (Two 7-foot legs, and a 3-foot cross pipe.)
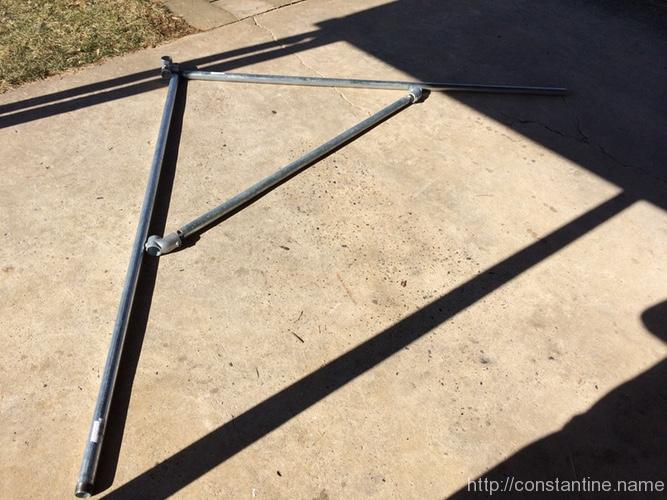
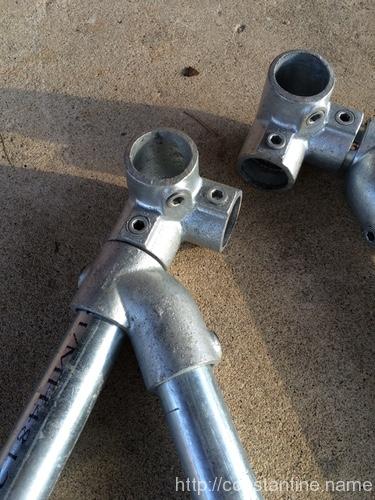
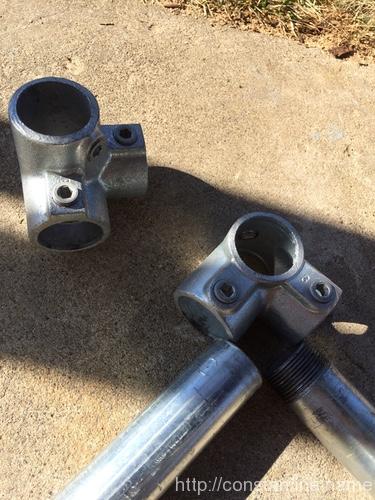
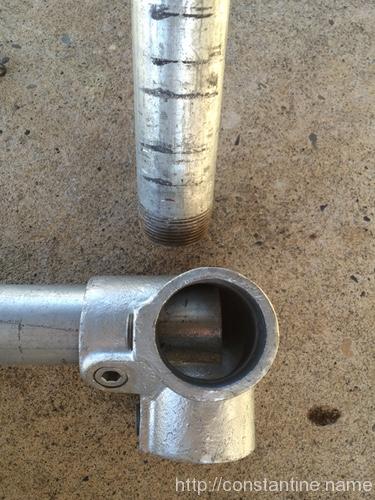
At which point I thought this might be an interesting teachable moment. So I swapped in the 90° two outlet tee. This seems like a good idea right? We’re going to use a 5-foot pipe across the top, one end of it has threads, I can slide this clamp further in from the end and it’ll get a much stiffer top corner.
Advanced: If you have the extra 45° single outlet tees you could add awesome little 1-foot braces on two of the corners at the top too. But DON’T – spoiler – we’ll use the 1-foot pieces for something else at the end.
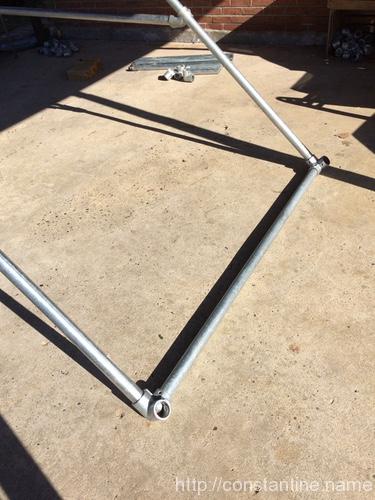
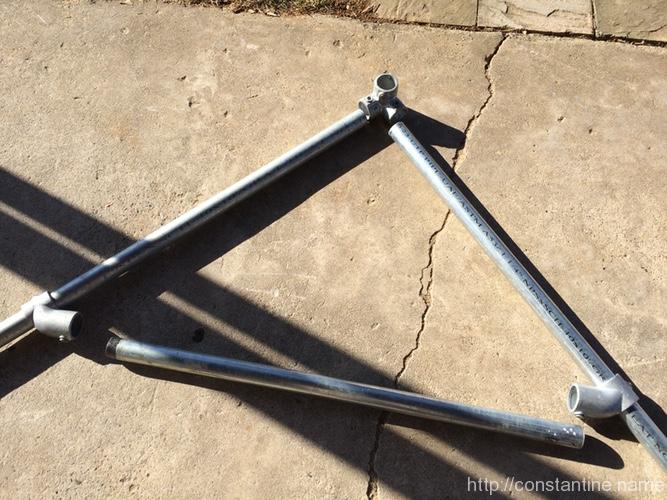
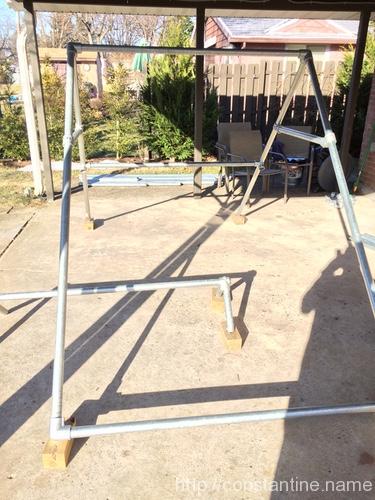
So I assembled one A-frame side and put in the 5-foot top pipe. You can see the other A-frame side is also assembled on the ground. The 7-foot pipes in this set all have threaded ends, and I’ve left them all facing down so the A-frame top clamps are more stable.
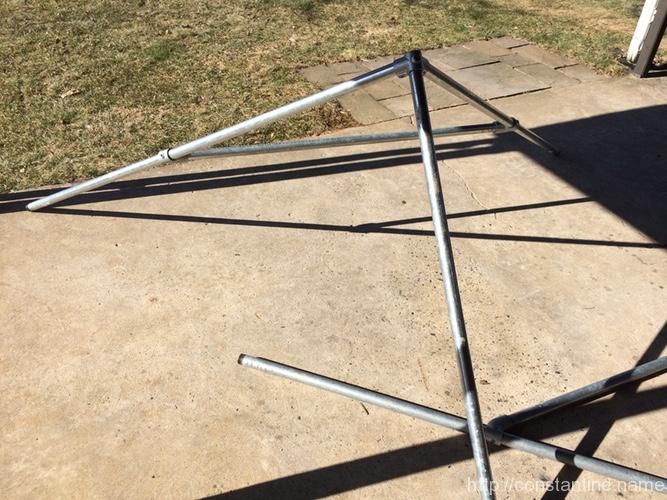
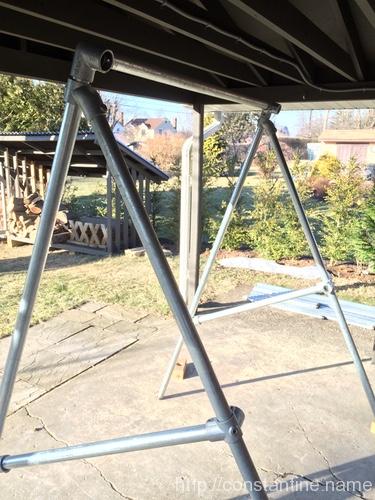
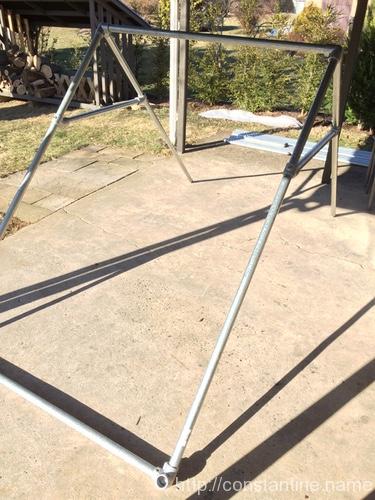
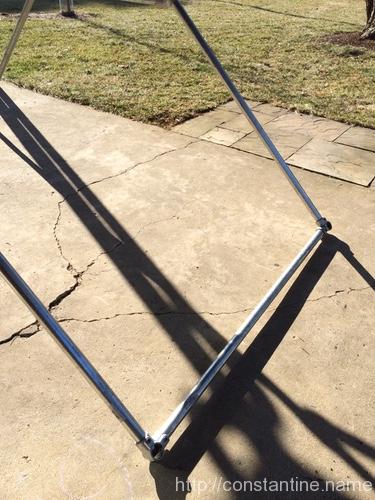
And here’s the assembled A-frame swing set. It’s about 5 feet high and is surprising stable because of the very wide 90° angle at the top.
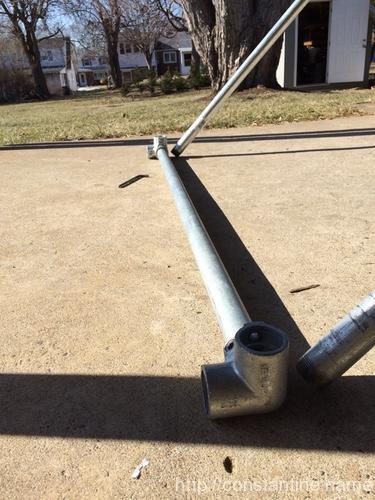
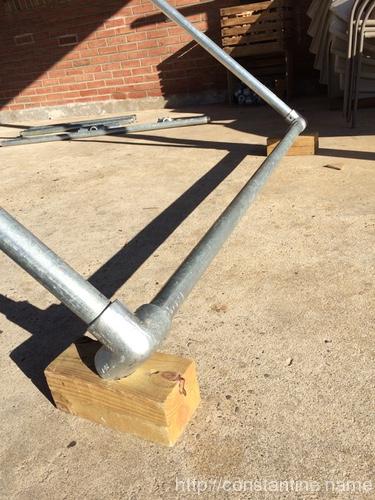
So can we make this more interesting or more stable? Let’s put a 5-foot base across the bottom of one side, just to stiffen it up. (But it can also be a laché precision target too.) Two elbows, a 5-foot pipe, and you’ll see the 5-foot seems long, so bury as much of the pipe’s ends in the clamps as you can. You get this:
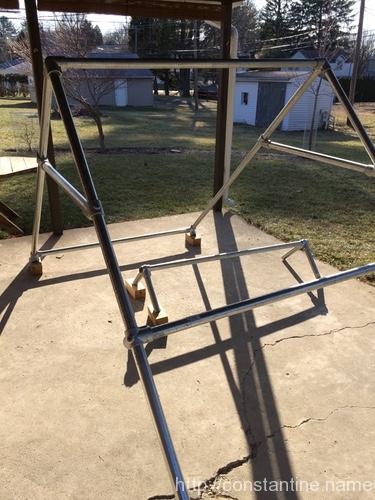
We still have two elbows left, so we could do this on the other side and call it a day. But we also have two more 90° two outlet tees, so maybe we could put a bar, across the other legs, but up higher; just to make it interesting? Here you realize that using the two 90° two outlet tees on the top of the A-frame means the entire thing is too narrow to pull this off. In the photo, I have the far side clamped, and the near side just snugged and resting so I could take the photo; it’s clearly too long. If you slid this down low, you could just stretch/spread the legs, but up at this height, it’s a no-go.
At this point (if not sooner) you’d realize that you cannot get those top clamps out and swap them. You have to tear the entire thing down; thus my thought that this would be good to show, so you never have to do it. :)
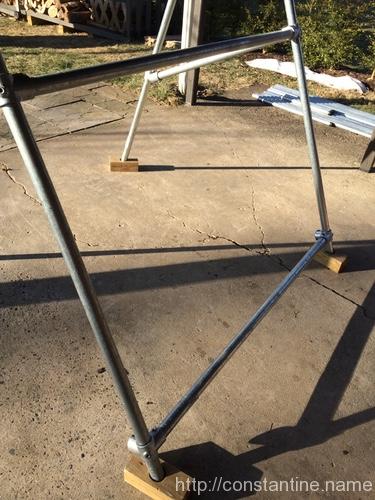
Here’s a do-over layout shot for the clamp change, and the finished do-over (with that low base with elbows installed).
Now we can add some fun stuff. You can use the two outlet tees (you have four left) to put a base on the other side (note the clamp orientation).
But we have that on the other side already, so you can flip those clamps and position this 5-foot pipe anywhere. You have a “window” on one side too!
We really should flip the elbows on the other side, so they “sit” into the feet better. Now we also have a “ground rail” on one side. Perfect to start from before jumping/reaching to swing on the bar, or as a laché landing target:
Done? …not hardly! We have clamps left over. Grab that last 5-foot pipe and your four 1-foot pieces, two 90° two outlet tees, and you can make a bomber ground rail (because you made all 8 wooden feet way back when).
Finally, you still have two 3-foot pipes left. If you have the extra four 45° single outlet tees, you could add those pipes in somewhere. As diagonals to the base, or in the window, or something crazy like connecting the free ground rail to the A-frame somehow.
So this build ends up being full of options. Climbing/gap challenges around the side braces; balance/cat-on-a-rail challenges; precisions; swinging. This is one of my favorites that you can build with this set.
ɕ