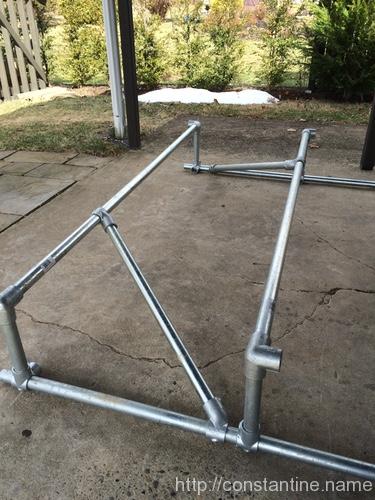
This is a very stable, adjustable setup for learning rail precisions close to the ground.
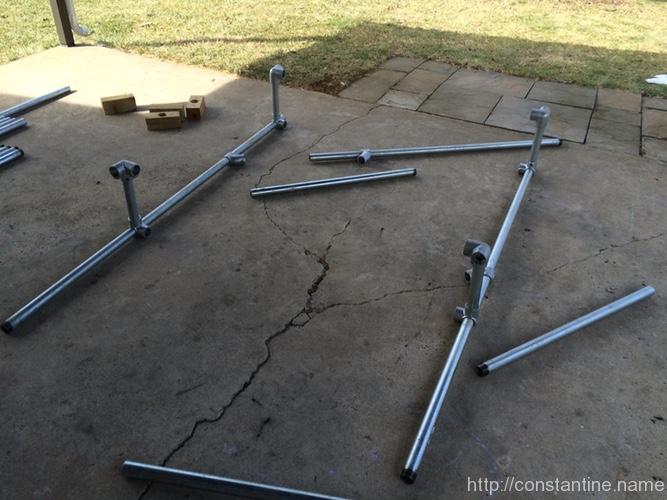
Here’s the layout shot. The 1-foot pieces will be vertical.

In this build, I’m going to use 3-foot braces incorrectly; I’m going to build them out-of-plane, where all the angles are just a bit off. Turns out it’s close enough to work because the brace pipes are 3-feet long. This wouldn’t work with shorter braces. (Look at it closely when you put it together to see what I mean.)
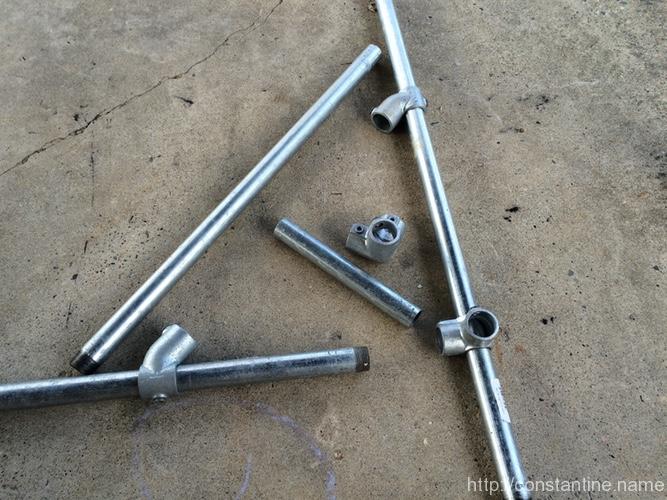
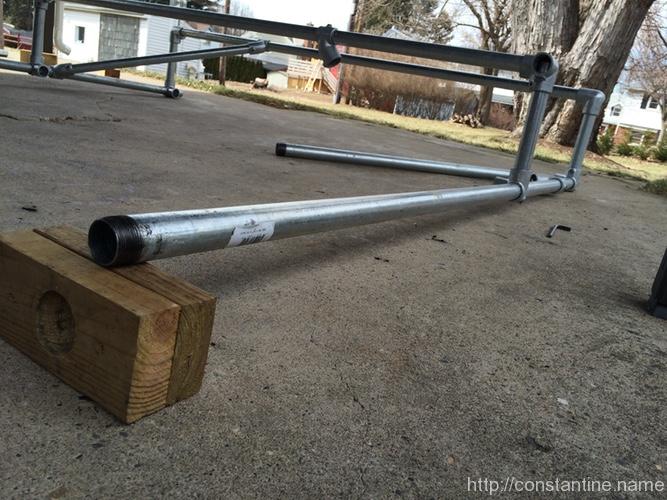
Here are closer layout shots of the two types of corners in this build. First, a corner with a brace:
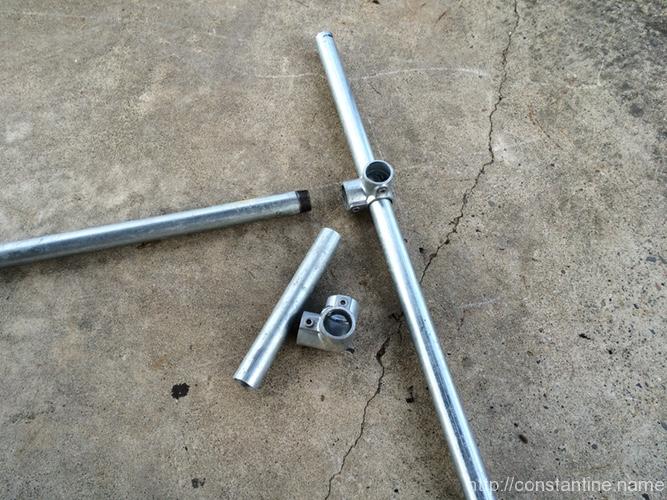
…and the corners without a brace. The upper clamp that holds the precision rail has an extra outlet we won’t be using.
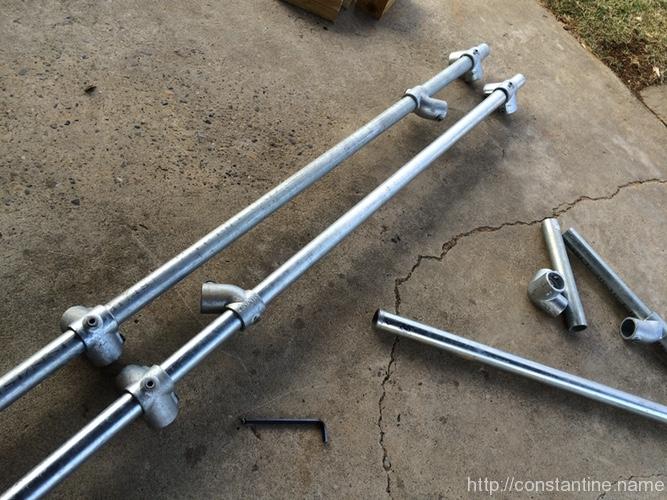
Put the 90° two outlet tees on the 7-foot bases. This is a little trick to make the pair on each pipe have matching alignments. This also makes their set screws super easy to tighten. Set the distance between the clamps (on each pipe) to be the distance of the precision you want to end up with in the finished setup.
Put all the verticals in place. Since each of the elbows has an outlet I’m not using, I’ve turned them out/away from the jump-gap.
Put the cross bars (the ones you’ll jump on) in place, and build the 3-foot braces. You can adjust the distance by loosening 3 set screws and sliding one side. (Another spot where you can use the wooden feet to prop up the ends of the 7-foot base pipes so yo can get at the set screws that are on the ground.)
Minimum is about 2-feet, limited by the angle braces:

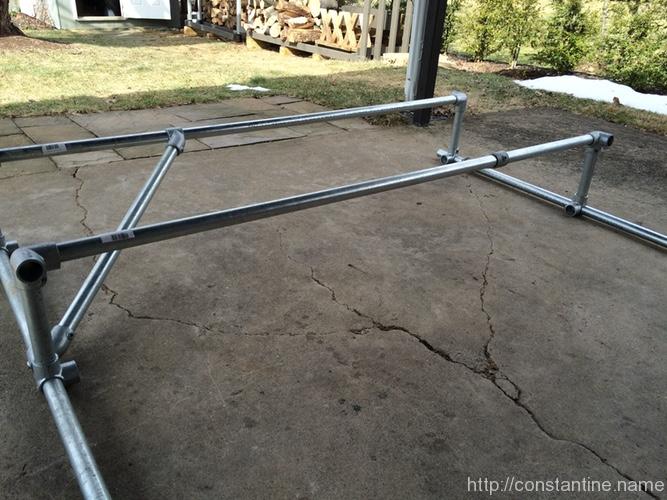
…maximum is nearly 7-feet. If you never plan on going out to seven feet, you could also do the build using the other 5-foot pipes as bases. (Sorry about all my other scaf pipe sneaking into the shot. All of these builds I’m doing with just “the set” described in the beginning.)

ɕ