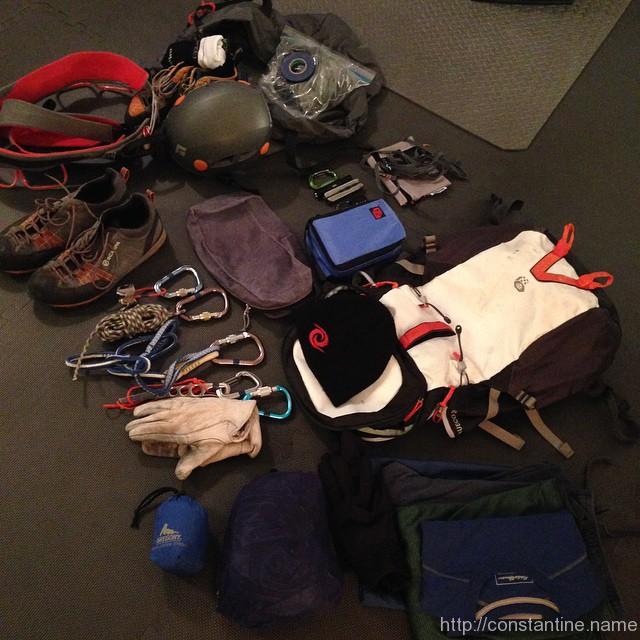
rock climbing! Heading to #RalphStoverStatePark in Bucks County for some technical climbing practice. Ten pounds lighter than last time I climbed– I’m psyched!!
ɕ
rock climbing! Heading to #RalphStoverStatePark in Bucks County for some technical climbing practice. Ten pounds lighter than last time I climbed– I’m psyched!!
ɕ
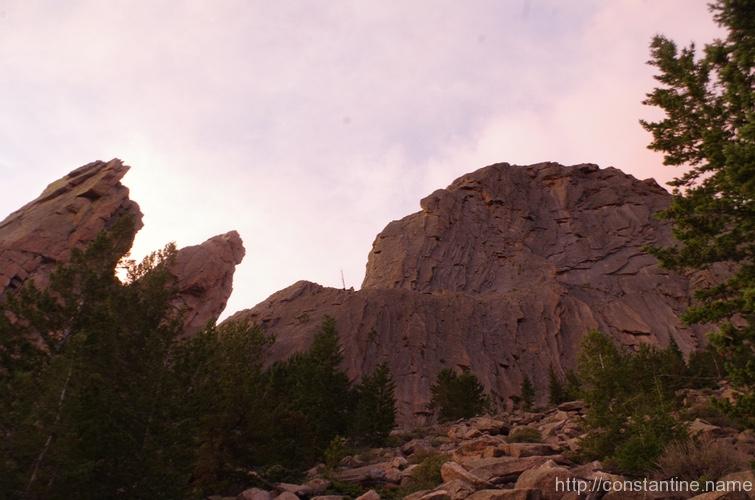
Epic: This was meant to be the first climb as part of our 24 hour challenge. A classic bush-wack approach to the base of the rocks at sunrise. Then 5 pitches of traditional climbing finishing at the overlook on top of the mountain.
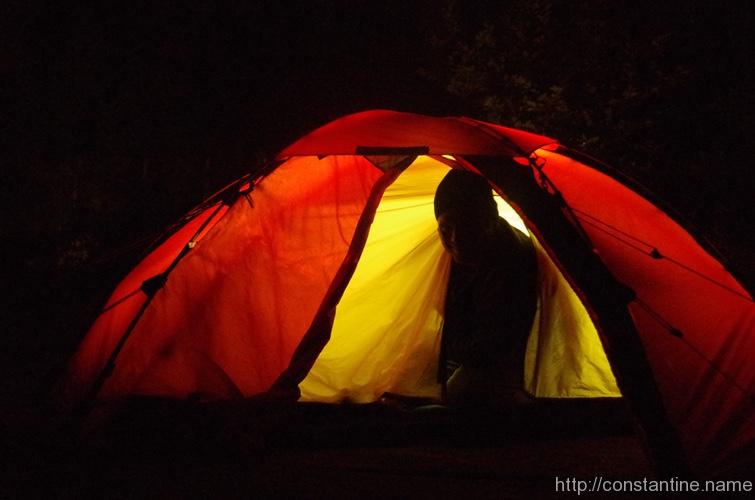
We got up at 4:30am, having packed everything the night before. It was pretty chilly and we were facing a good hour-and-a-half stomp through the woods. Our plan? …walk straight through the campgrounds — literally through camp sites and out the back of the campground. Then, head directly up hill until twilight brought us a good view of the mountain.
Initially, we were walking through grass-carpeted woods, and through a small meadow atop a little hill. But the further we went, the steeper it got. Until it turned into a true “class 3” scramble.
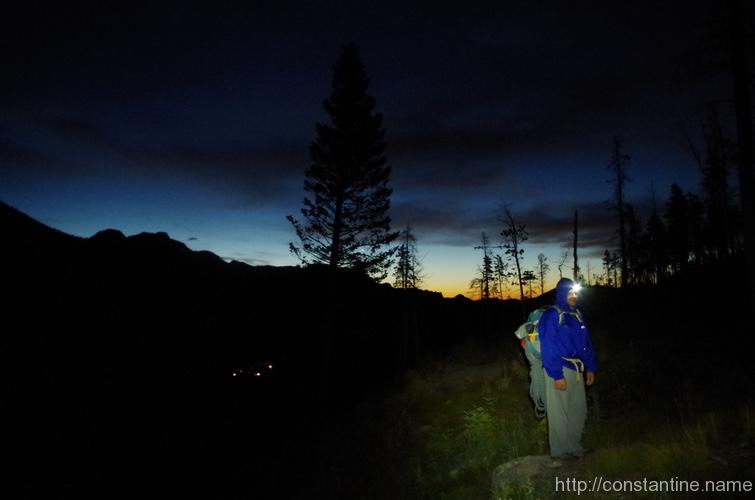

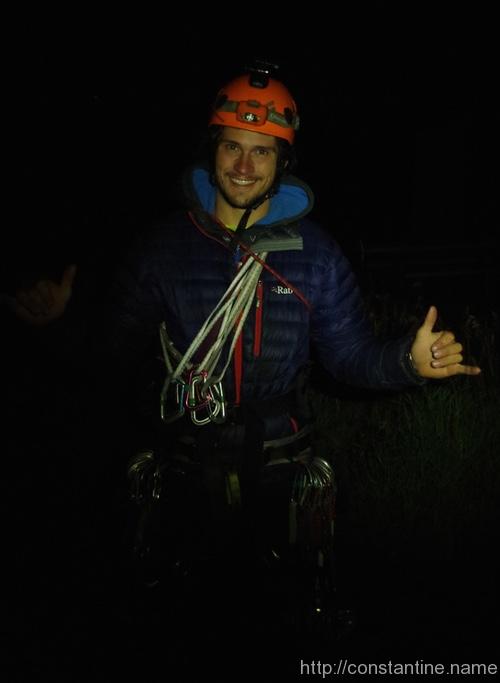
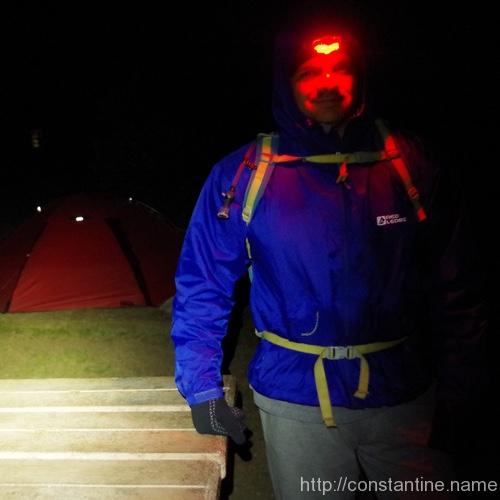
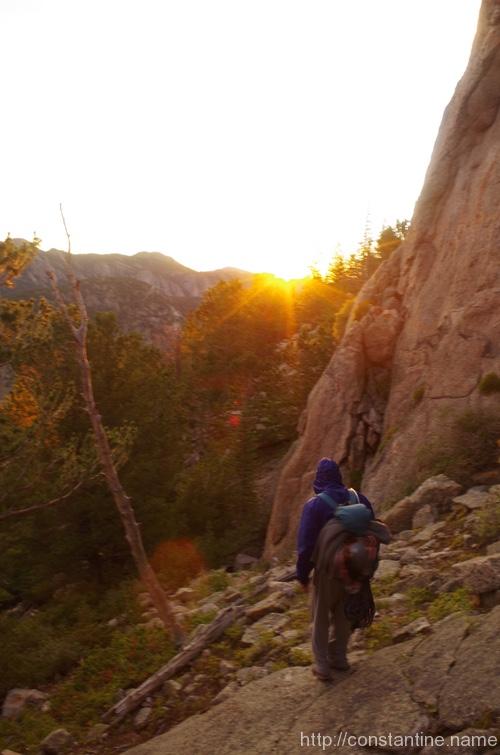
Twilight was upon us as we reached the base of the lowest spire.
We reached the base of the rocks moment before dawn.
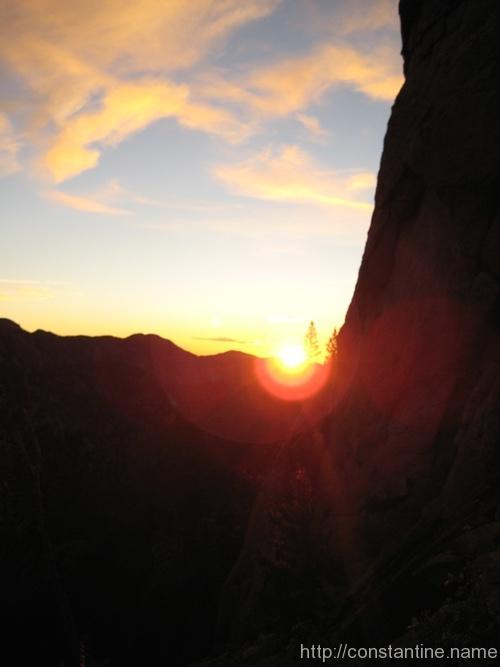
…and this is what the dawn “Alpine glow” looks like at 8,000 feet on Deer Mountain.
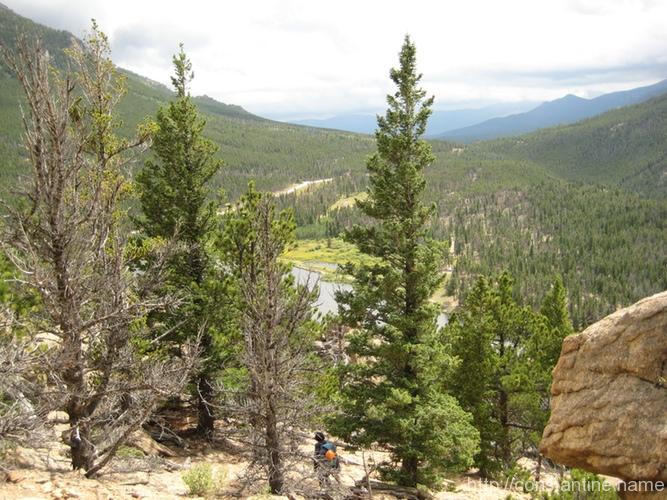
Giddy as school children — and possibly a wee bit oxygen deprived — we took a break to sight-see.

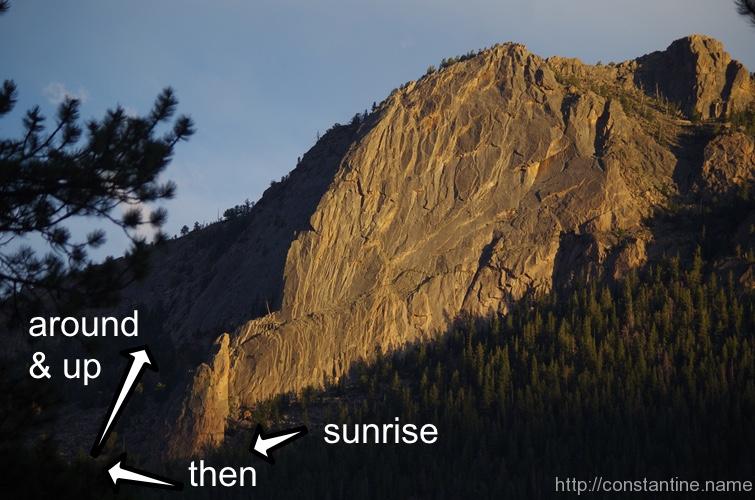
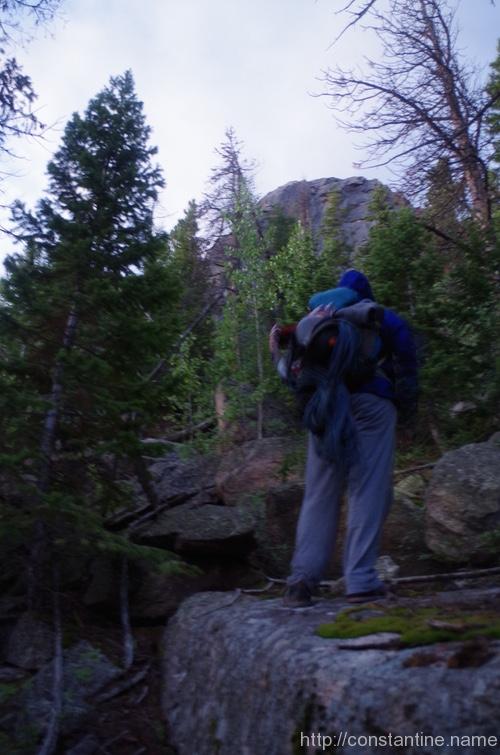
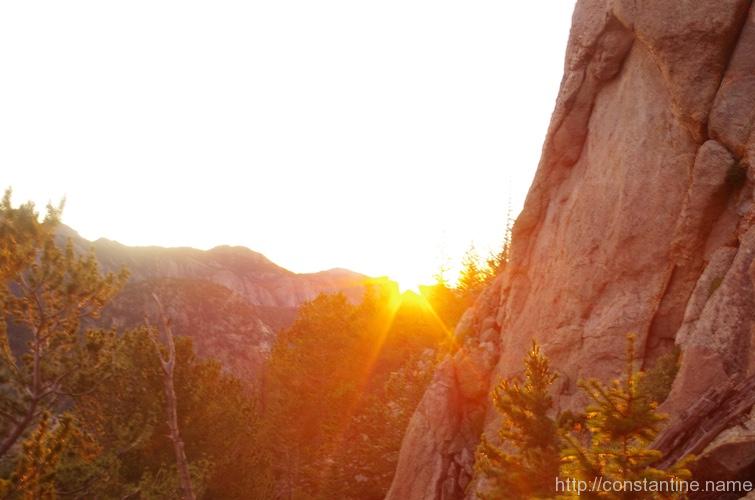
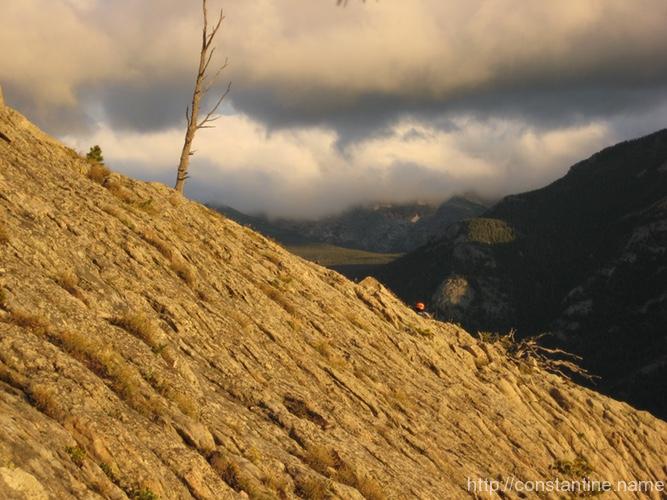
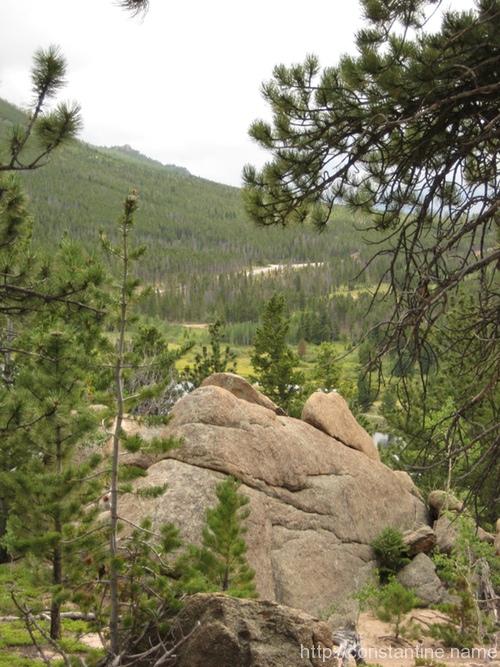
The final approach phase — yes, this is all just to get TO the climbing — is to duck around the lowest spire and climb up another 500 feet. To the left of the nose is a gently sloping shoulder called Stagway.
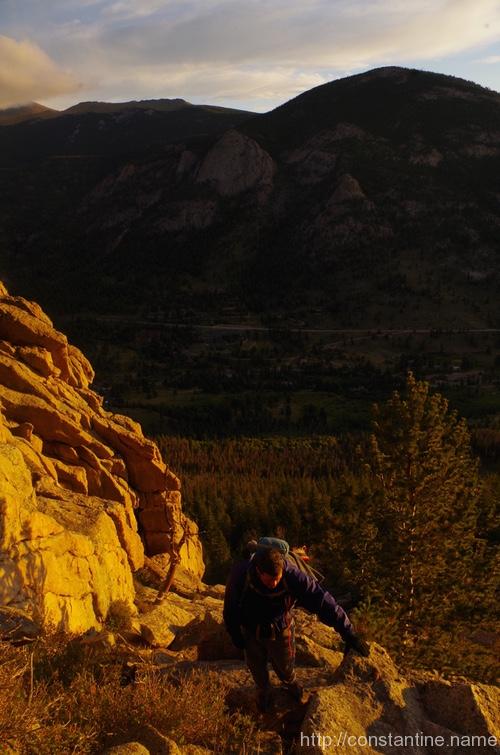
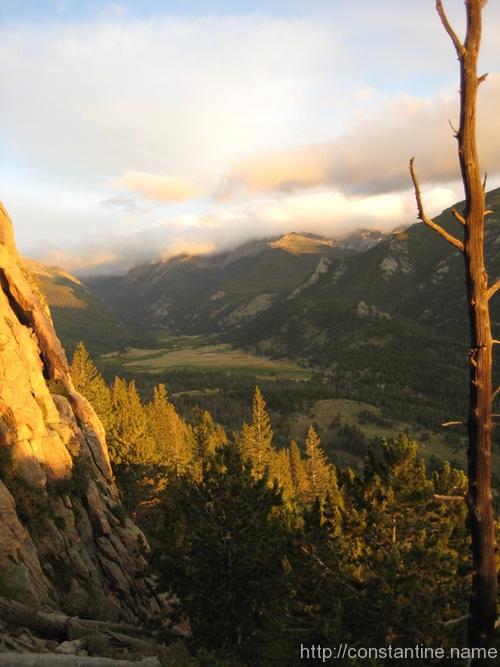

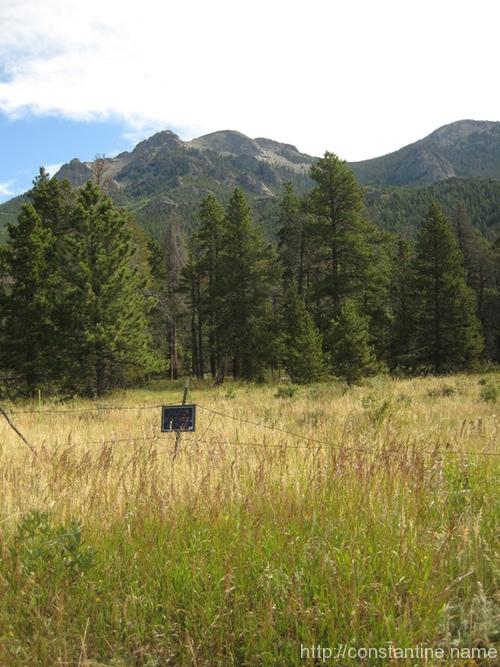
We totally loved that the “Notice” sign, had been there so long, that the actual notice was gone. The view from Stagway was beyond awesome, and was well worth the two hours of extreme labor to reach it’s ~8,500′ above sea level view point.


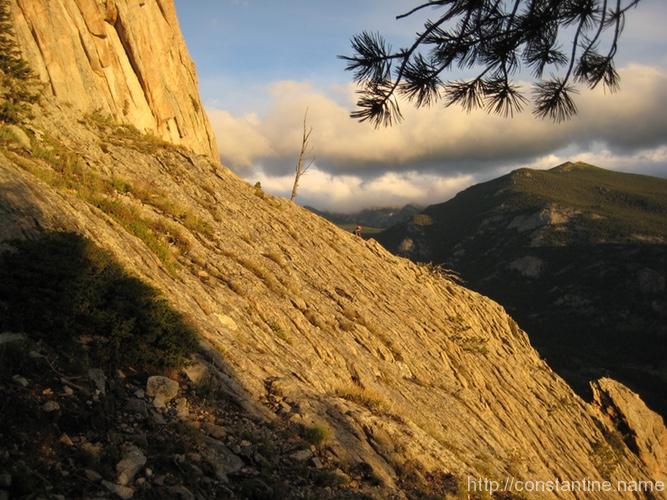
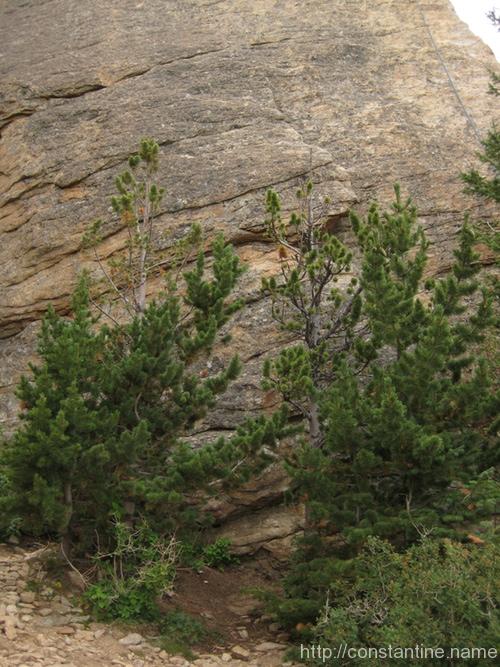
At this point, we could finally walk up to the base of the climb and assess. We were facing 30+ mph wind gusts, storm/rain clouds coming down the valley, and the first section was 80 vertical feet of crack climbing. (ie, there are no hand holds on the rock, just a crack to wedge your fingers and hands into.) We discussed it for a while, and I eventually called it off. It was just too many things weighing on the wrong side of the equation.
We snacked and discussed climbing the random looking stuff directly above Stagway. Unfortunately, the climbing guide said all the climbable lines were on the nose and to the right. On the plus side, it would be easier (in terms of technical difficulty) than climbing the nose, and just for a perk, it would be opening a new line. (Meaning no one had ever climbed it.) We figure that after one section through this stuff on the left, we could traverse back to the right, and continue up the nose’s progressively easier sections.
Unfortunately, this is also where we stopped taking photos and video as things went from being “fun”, to being “hard work.”
We setup and started up through the randomness above Stagway. After a long, long time slowly feeding rope to Mike, he stopped climbing and setup a belay point totally out of my sight. (Remember, it’s windy so we can’t communicate at all beyond a very simple rope-pulling system.) Eventually, I started up after him. I won’t say it was a mistake, because it was still fun at parts. But we spent nearly two hours, gaining about 50 vertical feet. I seriously thought Mike had been trying to write his name on the wall as I followed the rope up and down (down?!) left to right across the rocks. There was a lot of tricky climbing, and a tremendous amount of effort for almost no vertical gain.
Finally, at our first belay, with only half the gain we needed to go around the nose’s first section, we both decided to bail off. Bailing from the middle of a mountain requires leaving gear behind; You have to build an anchor, and then rappel from that anchor. You can pull your rope down, but the gear has to be left behind. Part of our plan for the 24 hour challenge included “bail gear”. That’s a small collection of things that we wouldn’t normally use, because if you used it, then you couldn’t bail off it in a pinch. This was litterly one nut, and a carabiner that Mike had found in the Himalayas that had been left behind when someone else had bailed.
It took us 10 seconds to rappel off of our two hours of work. That was followed by an hour of down-scrabble all the way back to our camp site, where we collapsed pretty exhausted. At this point the weather seemed to be deteriorating, and we threw in the towel on our entire 24-hour challenge. We never even tried to cross over to MacGregor slab. We did say, half-jokingly, that we would come back some day and get it right.
Aside: as I write, in March 2015, we are planning to return in July.
On the other hand, we both felt like climbing more, so we headed over to climb “Batman and Robin” over on Lumpy Ridge. (Which will be my next post.)
ɕ
Mike and I were planning a 24 hour climbing challenge; Basically, an attempt to keep moving (hiking from one climb to the next) and climbing for 24 hours straight.
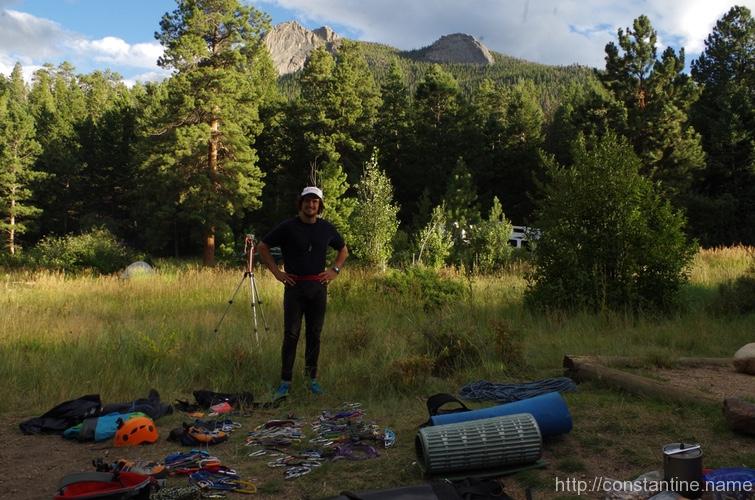
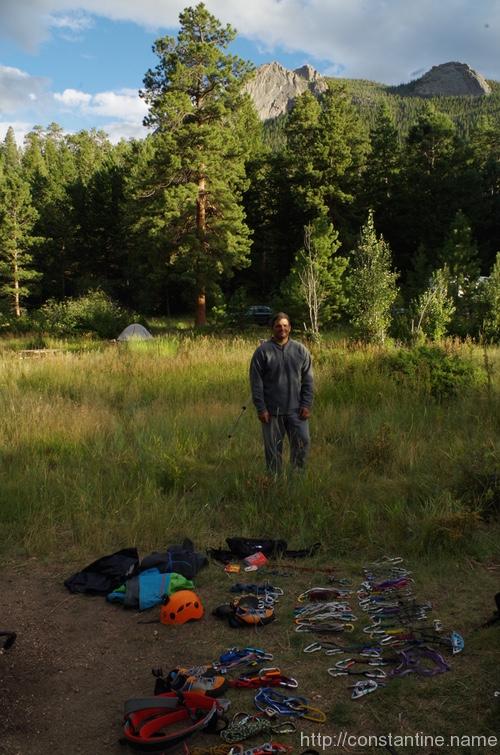
These photos are from way back in July 2014 when I was rock climbing in Colorado with Mike Bowyer. I’m only just now getting back to going through the rest of my photographs.
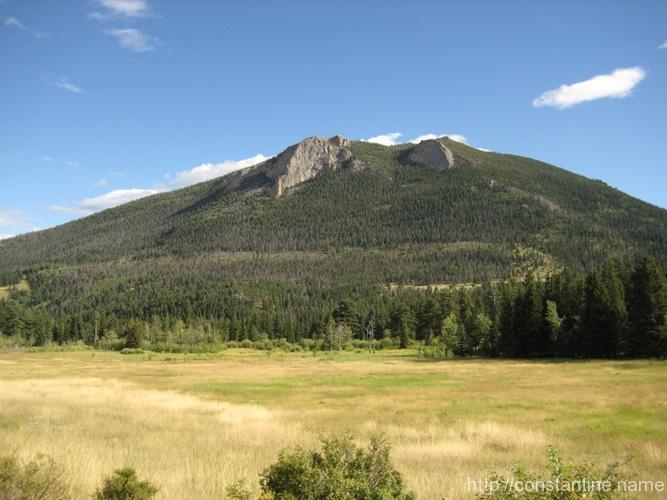
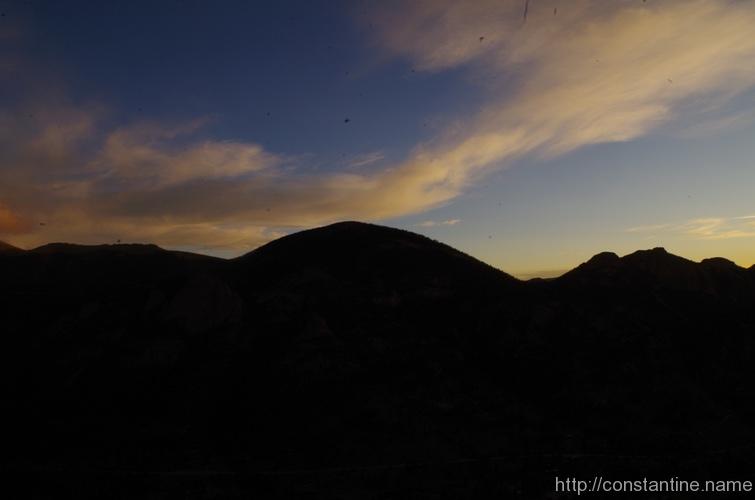
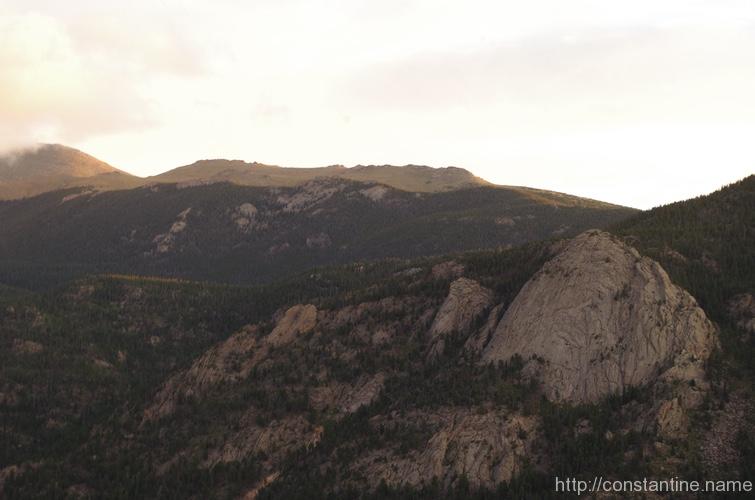
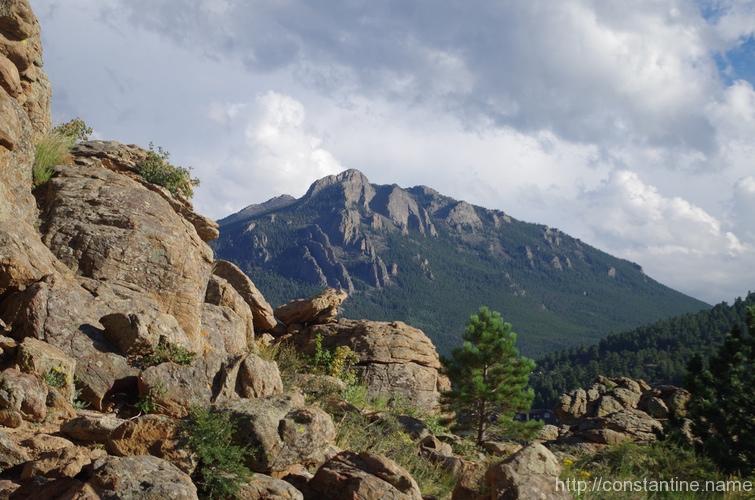
Aspen Glenn campground — where we were camping — is tucked into the trees at the base of this mountain.
Our plan was to get up before dawn (4:30 to be exact), hike the 1,500 vertical feet through the forrest (starting at about 7,000 feet above sea level mind you.) There’s no trail to the base of the climb; The plan is to just go straight from our campsite to the climb, and arrive at the base of the climb at dawn — a test of our planning and navigation in the dark. Climb the nose — that prominent line between the sunny and shady faces of the big beautiful hunk of rock. Then hike down (there’s a trail from the top that curves around the right shoulder) and back through our campsite for water and food.
At the campsite, we’d pick up a pre-stuffed extra gear bag and hike across the valley floor. On the north side of the valley is MacGregor slab; It’s just this big ‘ol gently sloped blob of granite with about 12 different climbable lines. We planned to stash our gear bag at the base of the slab, and then start doing laps of: climb-up, and walk-off around the shoulder, all day and night. Again, there are no trails that lead to the climbing on MacGregor. It’s just a bush-wack “that way”. If everything went perfect, we hoped to get the last climb to end on the top of the slab at the next sunrise.
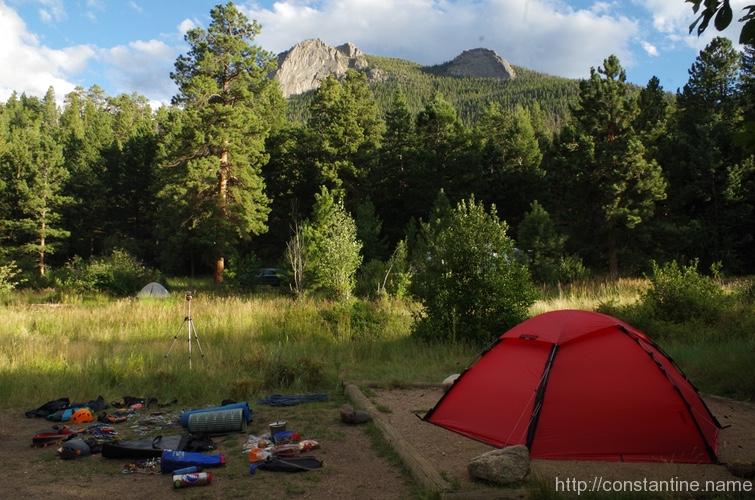
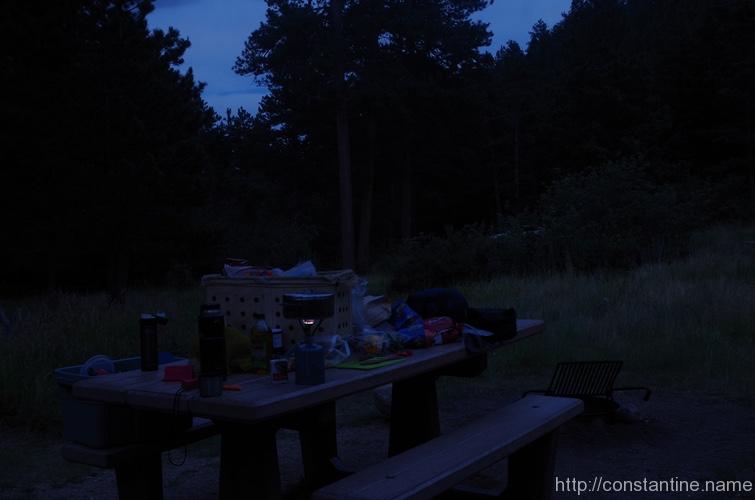
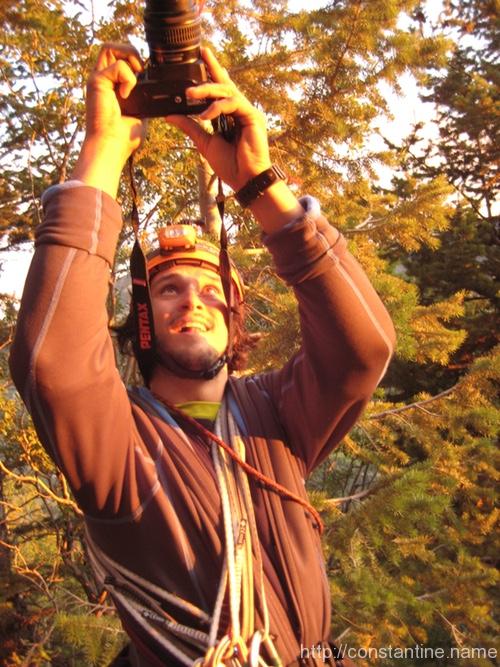
As the sun set on our day of planning, I set up my camera to take a long, time-lapse of the first thing we planned to climb the next day. This isn’t a “fade to black” at the end, it’s a “sun went down, it got pitch dark” end. (6 seconds of video.)
ɕ
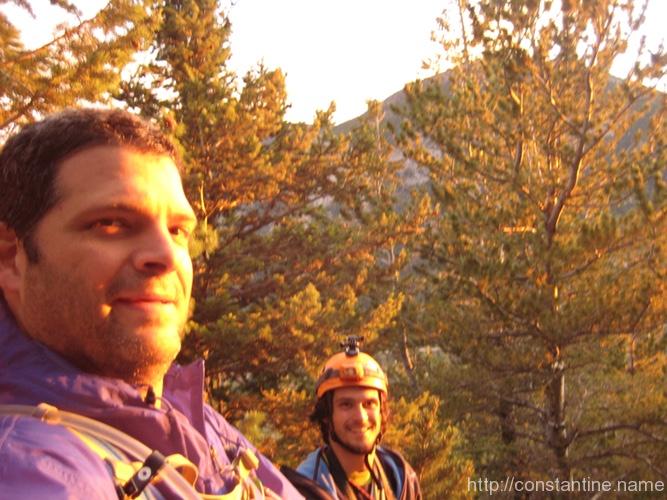
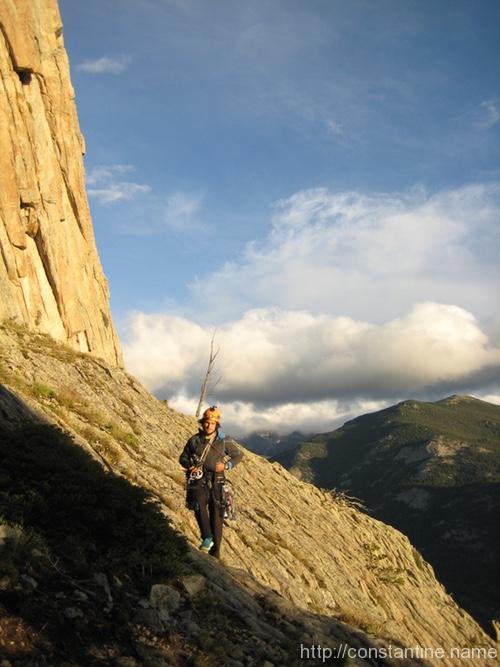
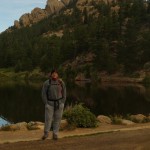
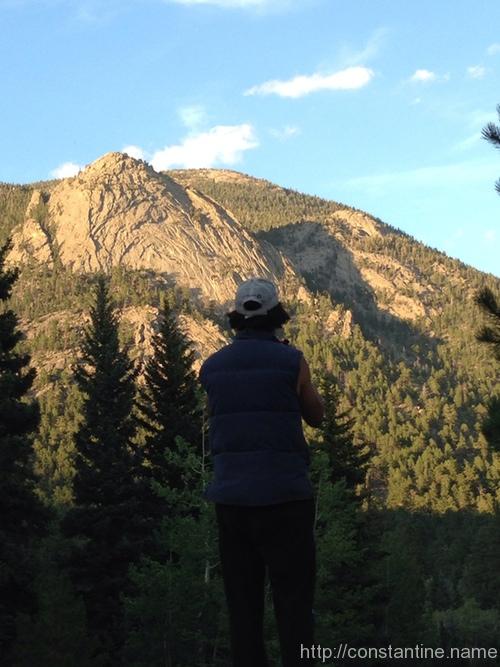
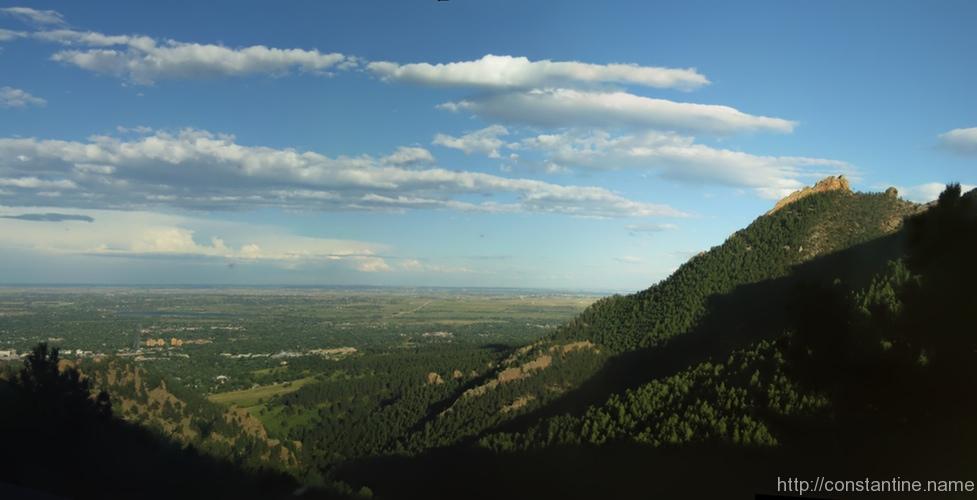
Out of about 2,000 photos that Mike and I took, I think this is the only one that shows both of us. Here are a few more non-climbing shots showing just how incredibly awesome the scenery is.
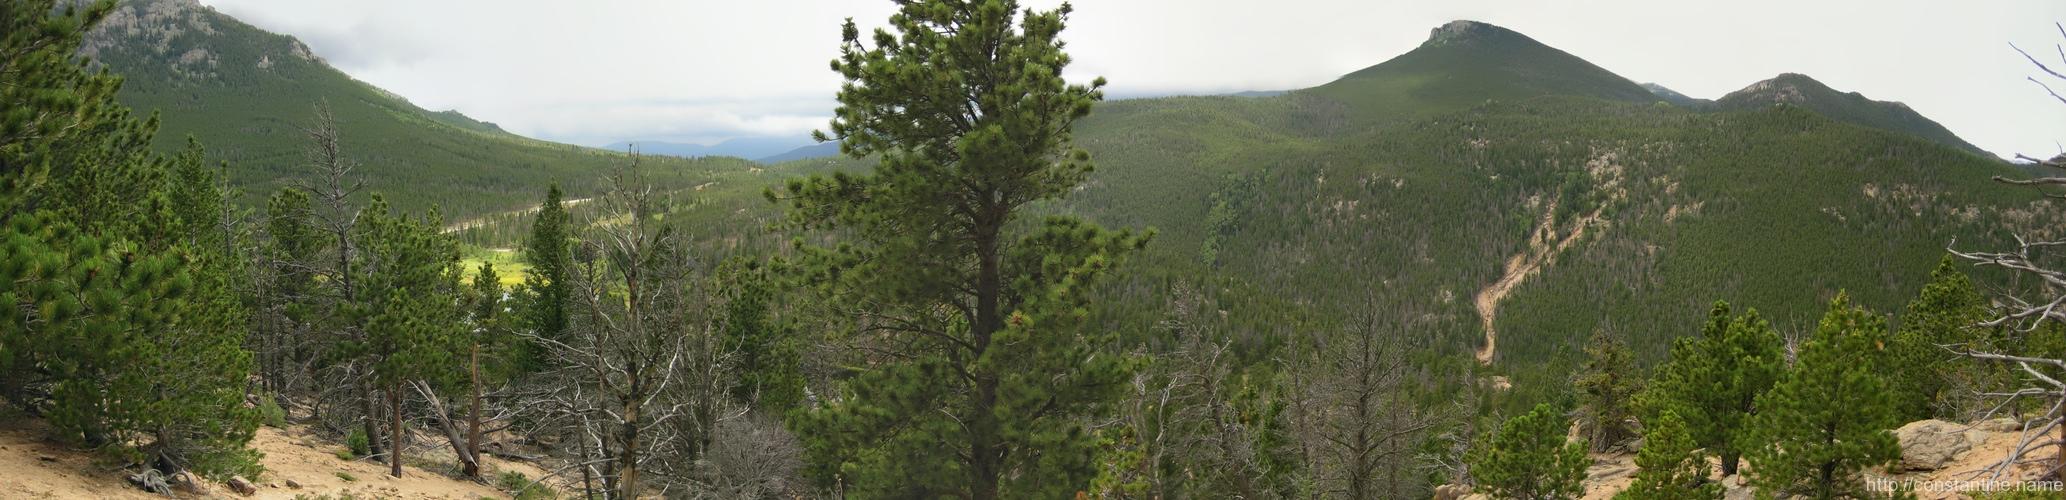
Links to the full size, wide panorama.
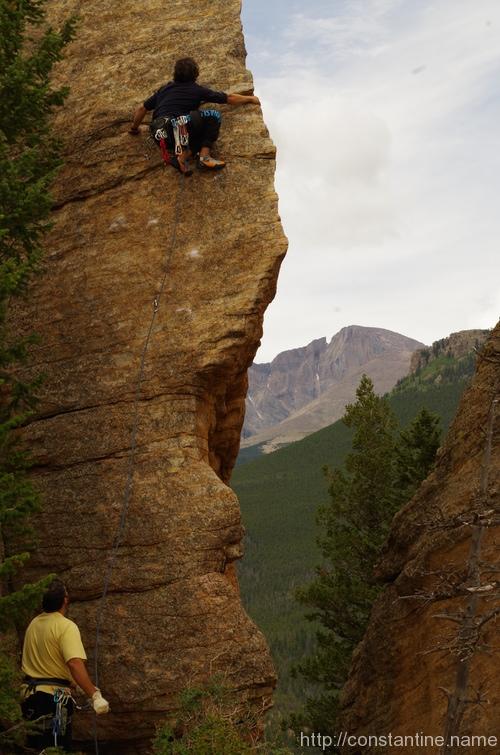
Ok, well, one more climbing photo. I’m sorry, but this photo is just off-the-charts awesome.
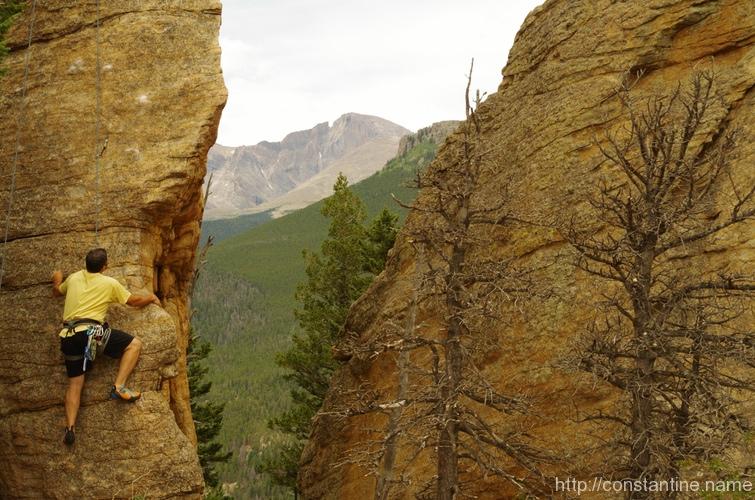
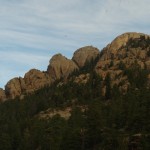
When you park at Lily Lake, the first thing you see is this hillside that looks like Godzilla. We arrived before the sun was fully shining into the valley, and it was eerily quiet. it’s the perfect first-look when you’re about to hike into something called “Jurassic Park”.
Just to the east(left) of the epic “Edge of Time” route, lies “East of Eden”. I had given up on the hardest part of Edge of Time, very near the bottom, and so I shuffled over to East of Eden. From East of Eden I climbed up above the crux and worked my way back over to finish out the Edge of Time.
True story bro’: I started up one of the trees at the base of East of Eden for about 8 feet, and one of the guys we were climbing with goes, “Craig, I love your attitude!” (Because I refused to give up on getting to the top of the Edge of Time.) Halfway up the tree I shouted back, “up is UP!” …all of which I thought was hysterical, because if you know me well, you know that generally you’d say I have a “bad attitude.” What can I say, Colorado brings out your best!
words words words photos words words Awesome words words Spectacular words words ‘Nuf said.


ɕ
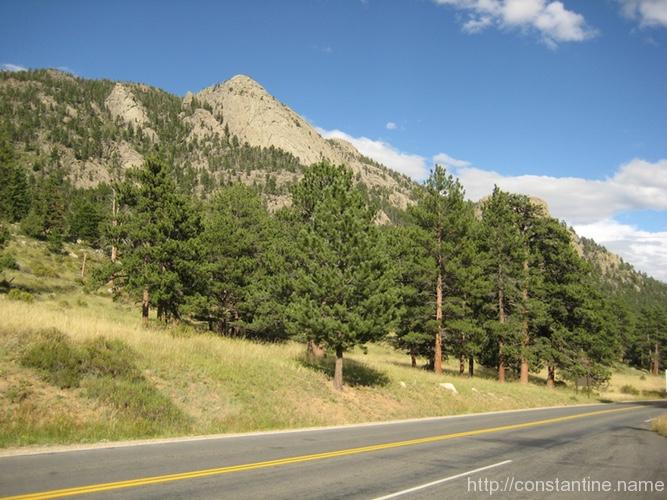
There’s a great roadside, sport climbing area across the street from Mary’s Lake in Estes Park.
On the Monday that we arrived in Estes Park, we stopped at the local gear shop, and then went here to do some climbing. These are just a couple more beautiful photos that Mike took while we were hanging out.

ɕ
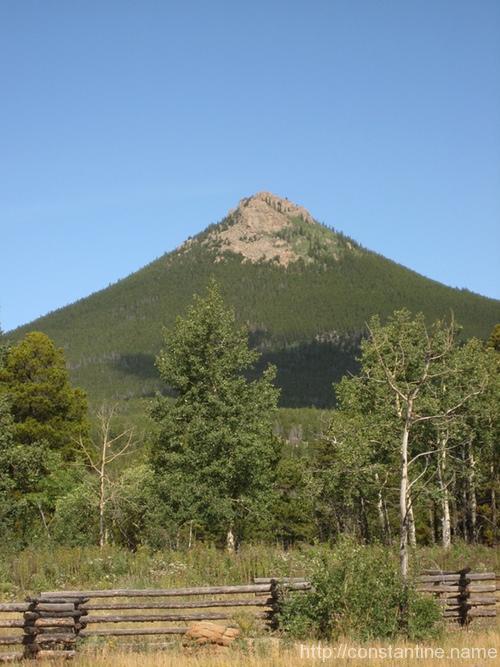
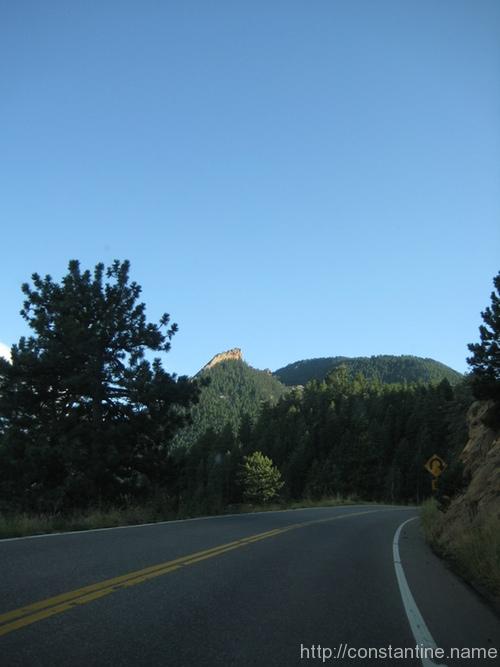
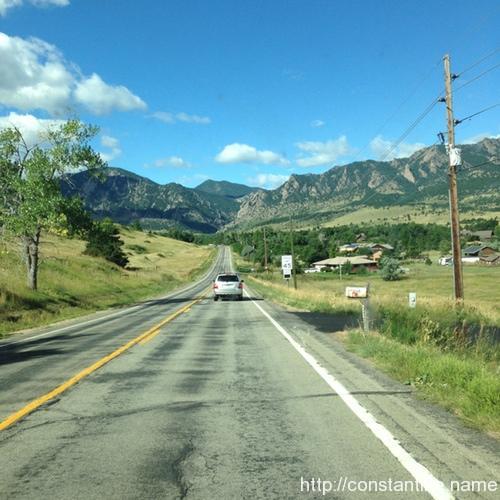
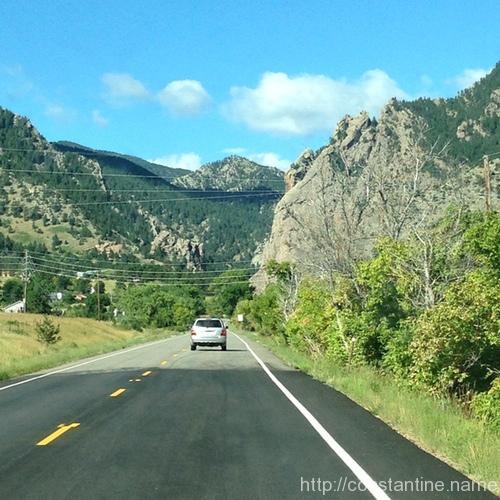
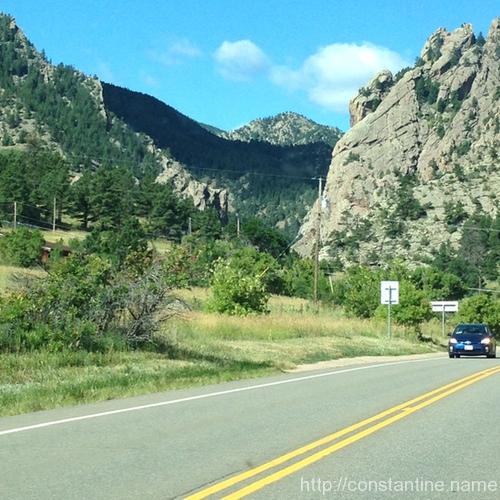
A few more photos from our drive up/into Estes Park Colorado.
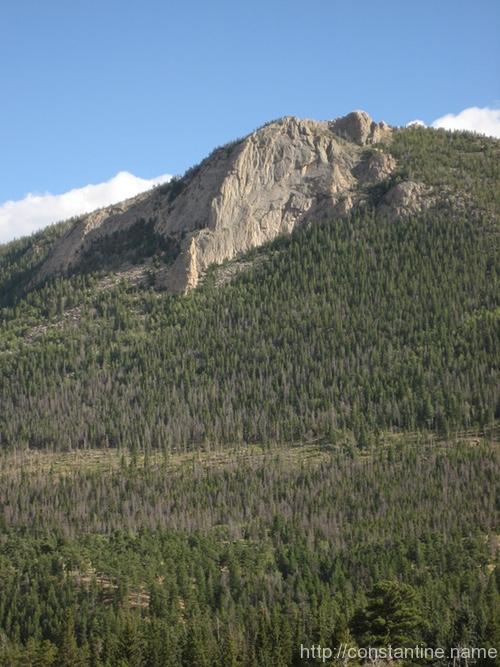
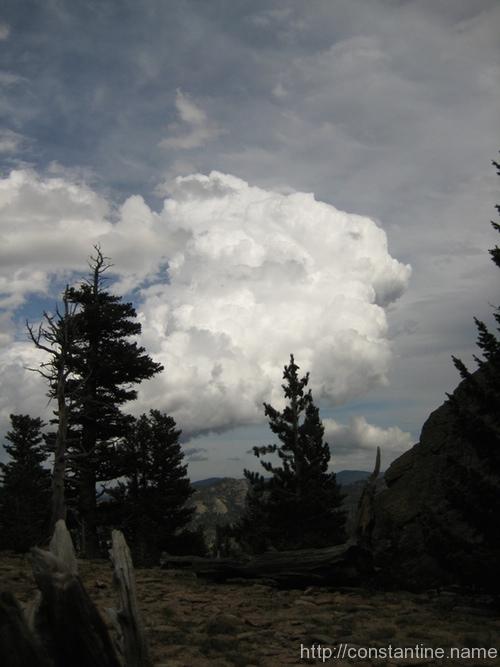
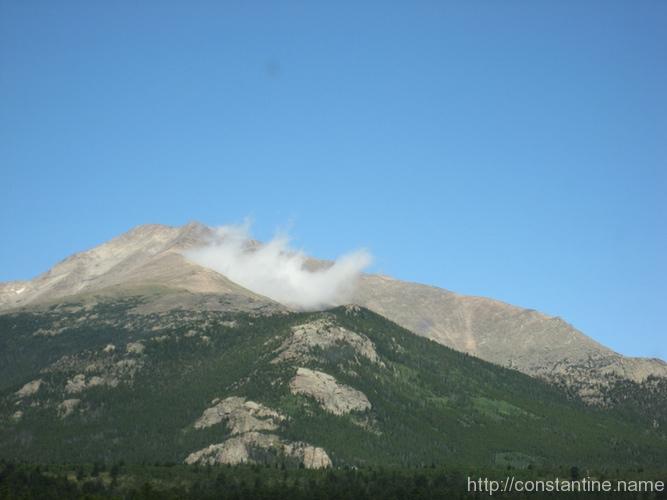
We rolled past this spectacular peak just after coming up out of the canyon on Route 7. It’s not a volcano, there’s just a perpetually forming cloud stuck to the shoulder as the wind blows steadily from the left.
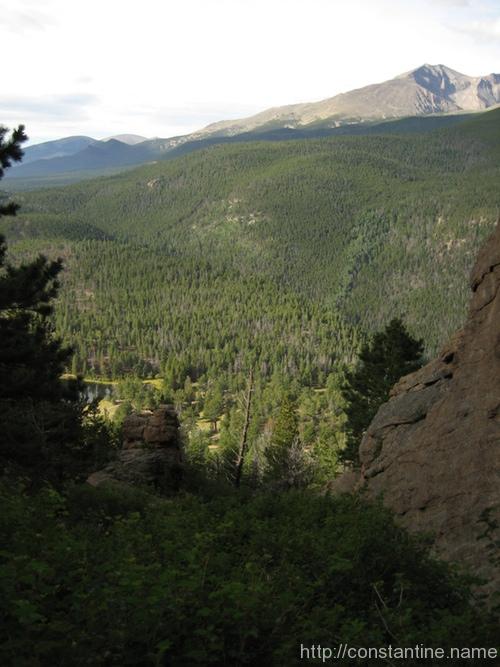
Route 7 also rolls past Long’s Peak, which has the world-class climbing feature called “The Diamond” (the slightly darker, diamond shaped area of rock on the right.) But whichever way you swivel your head, the views are majestic!


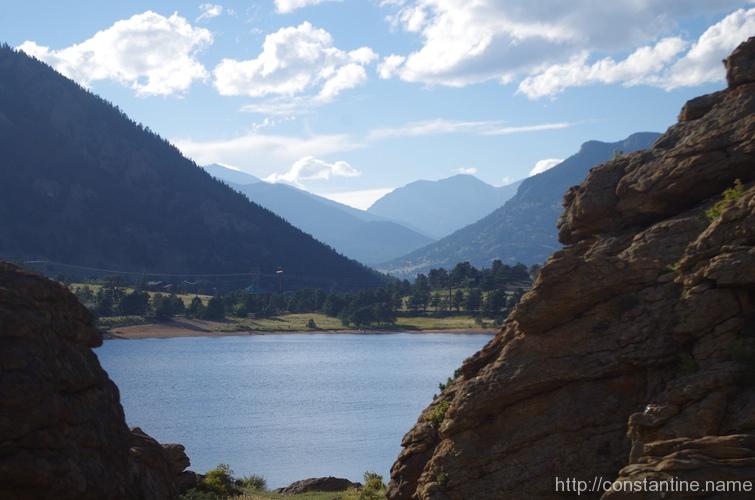
This last shot is of Mike, who ran out of the van and jumped upon the bridge railing as we were driving down the access road to our campsite in RMNP. It turns out, this beautiful hunk of granite is McGregor slab. We had intended to climb its very accessible 5.7-8 routes, but that’s another story.
ɕ
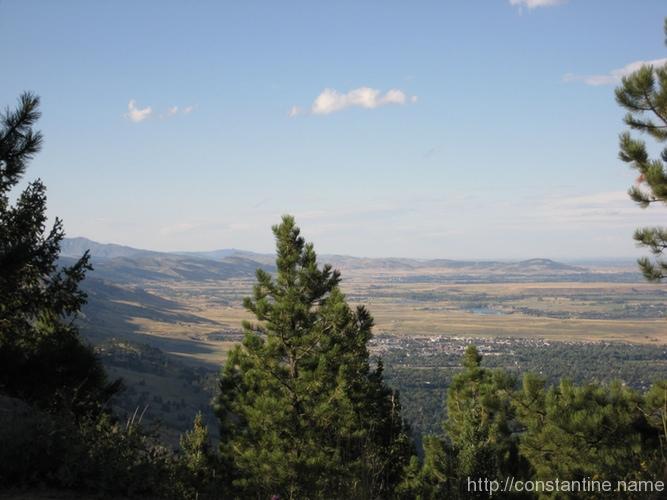
On August 23rd, I took a drive up Flagstaff Road. Spectacular views! Here’s a few more photos I selected as I’ve been filing photography.

ɕ
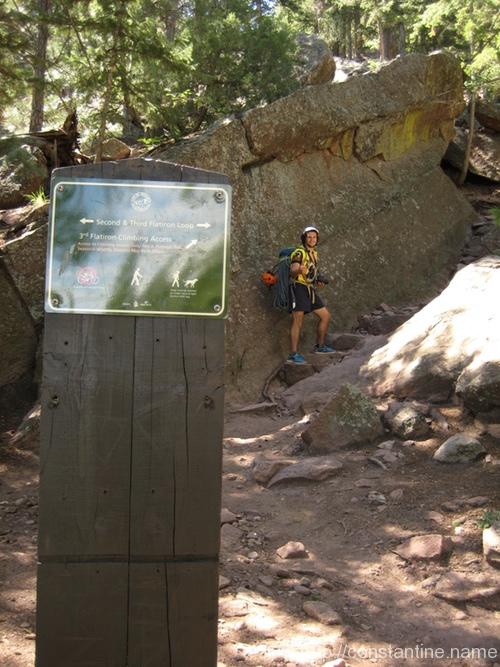
Our climb of the third Flatiron was leisurely enough that we took a lot of photographs. As I’ve been going through them, I’ve carved out a second set of must-see shots.
(There’s also my first Flatiron 3 post about the best beginner climb in the solar system.)
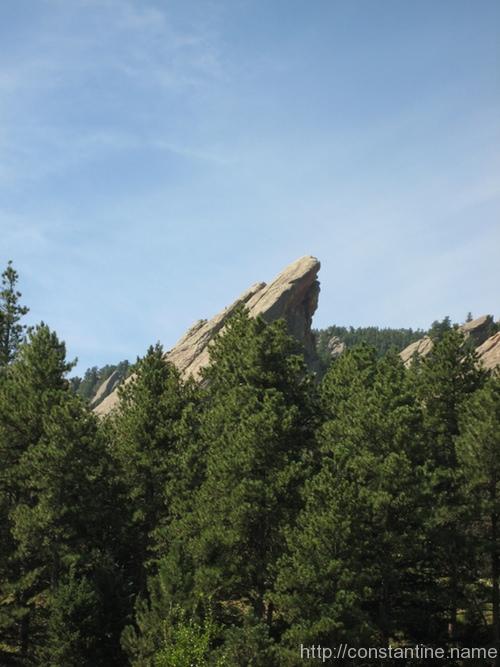
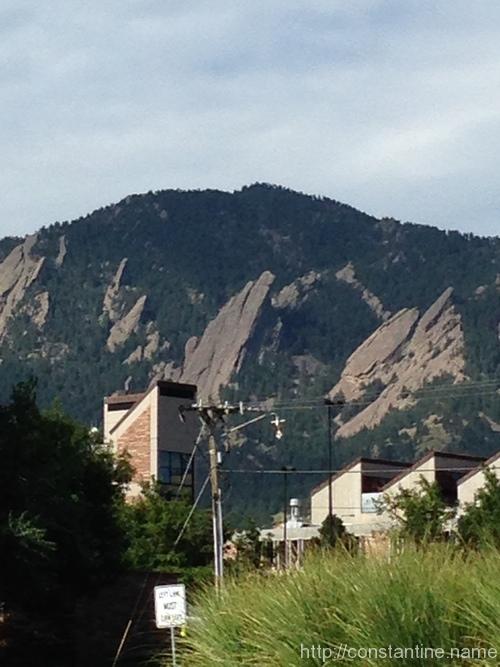
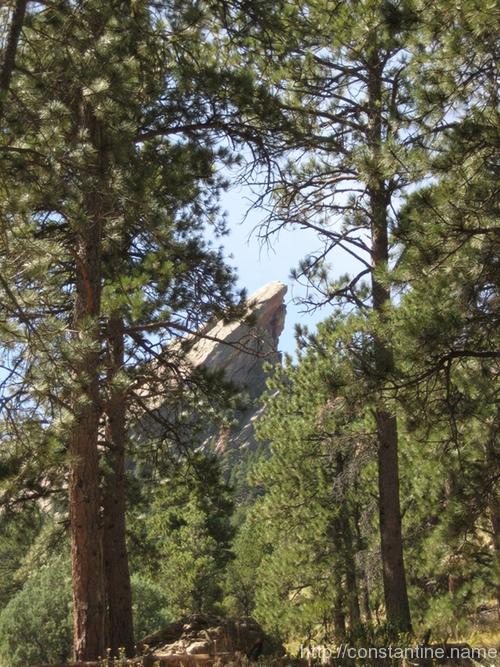
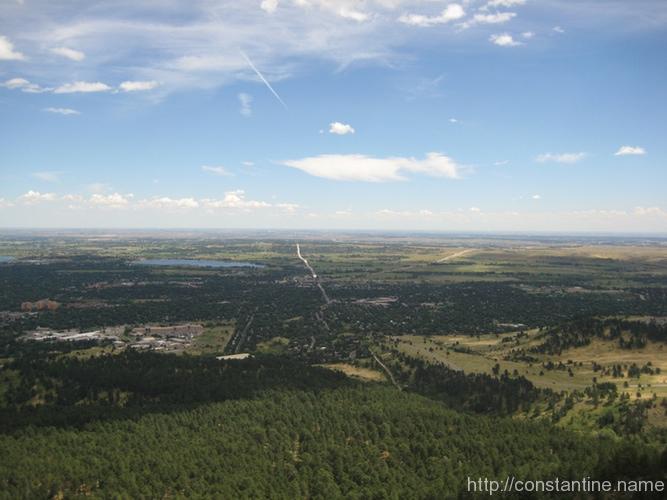
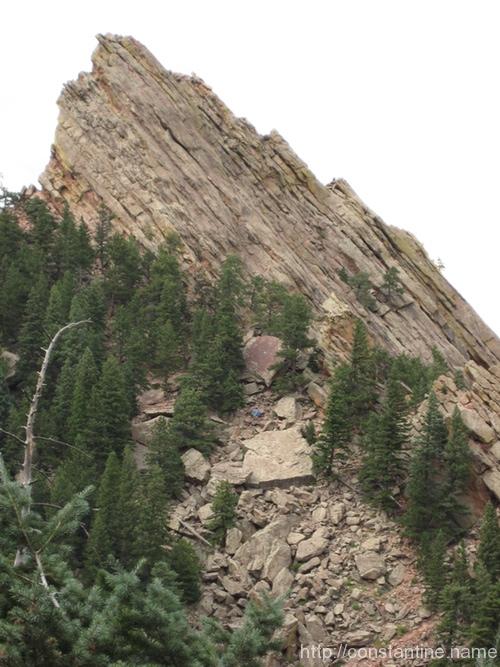
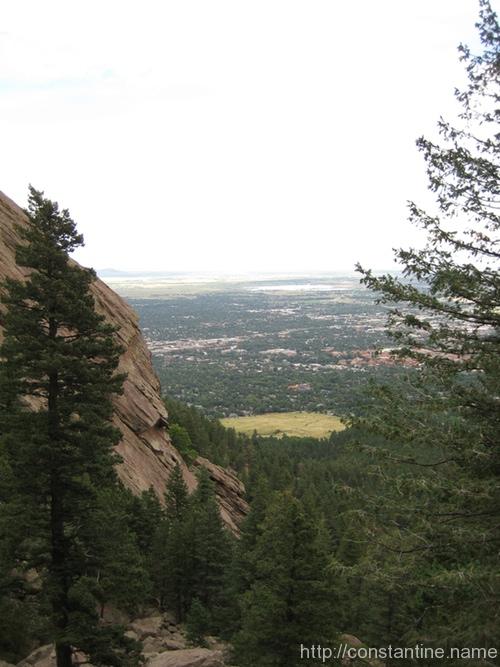
The Flatirons are just smack-dab right next to Boulder. Everywhere you go, the “front range” is just looming to the West. Sitting at Einstein Bro’s Bagels, the slabs of rock beckon tantalizingly close. Flatiron 3 is striking because the backside is exposed too, making the tip of the climb into an impressive prominence. (…and it makes for a wickedly fun, triple-rappel off the back too!)
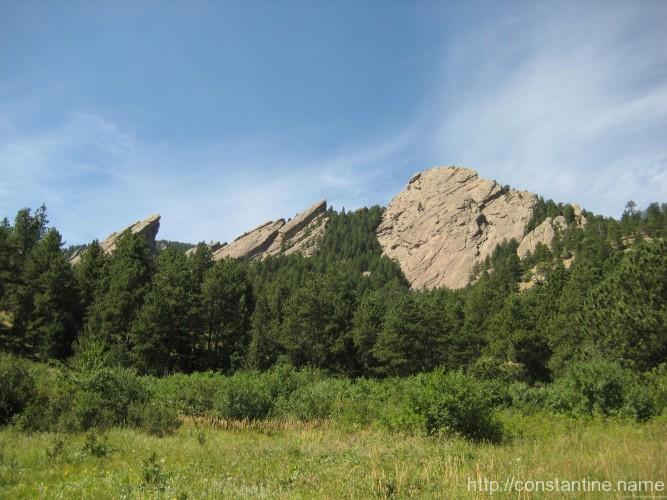
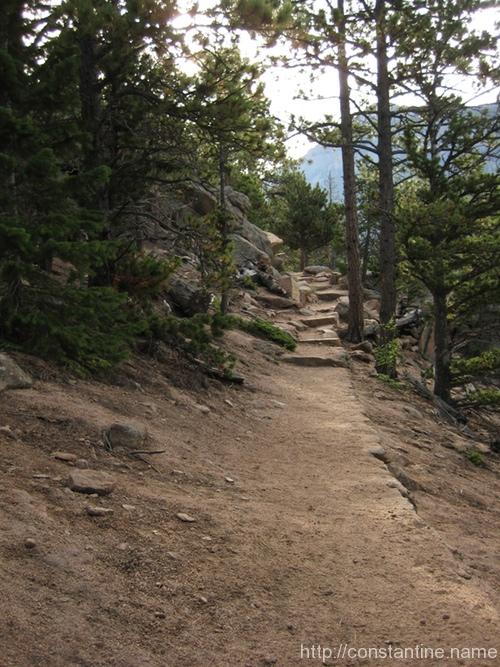
The approach is simply a beautiful, long, hiking trail. (Or as we took to joking, a trail for the “walkers.”) The lower parts of the trail are heavily trafficked, but the further you go, the more interesting the terrain gets. Eventually, Flatiron 3 starts peeking at you through the trees.

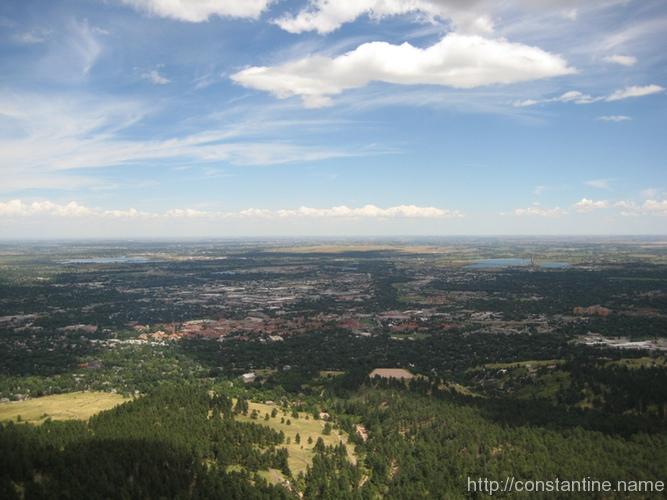
A few shots from the top… just taking in the view!
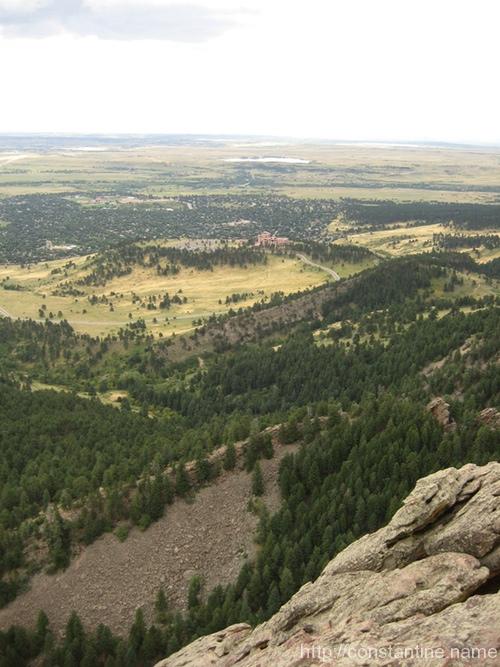
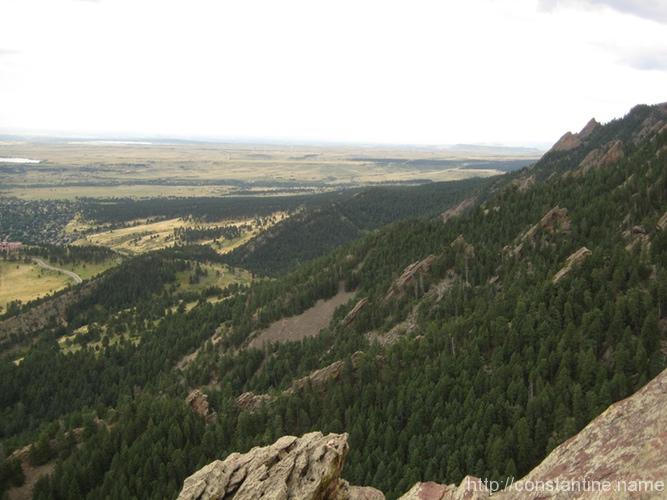
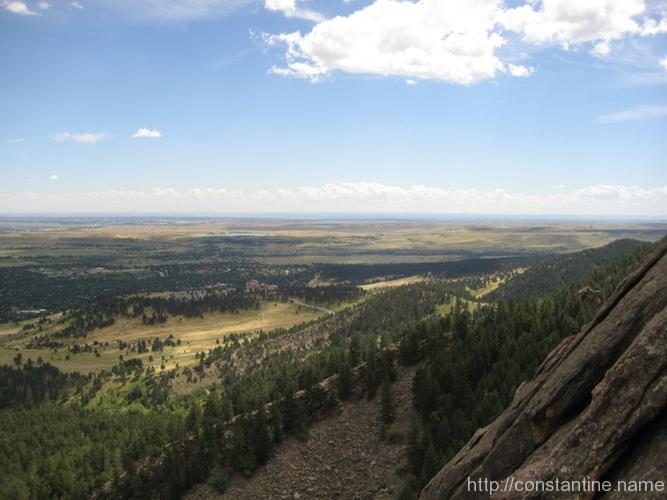
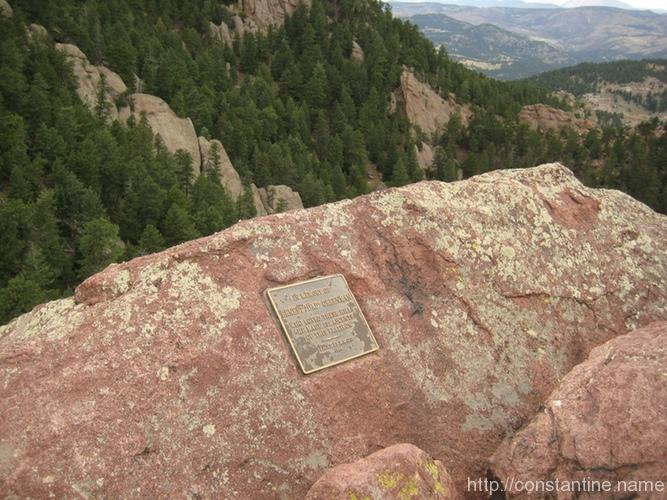
At the very top, there’s a comfy recess just behind the true summit. Mike got excited at the huge slab with the prominent crack system that is hidden behind the Flatiron. (If he’d had his way, we’d have trekked over there immediately after rappelling off the thing.) There’s also a commemorative plaque set in the rock. Beyond the plaque lie the Rocky Mountains!
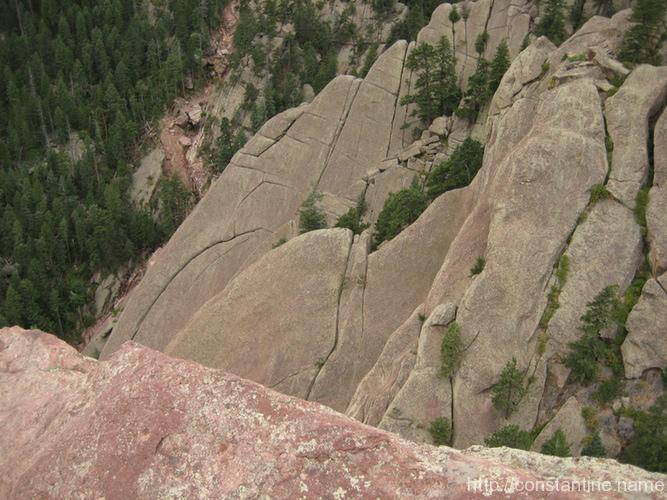
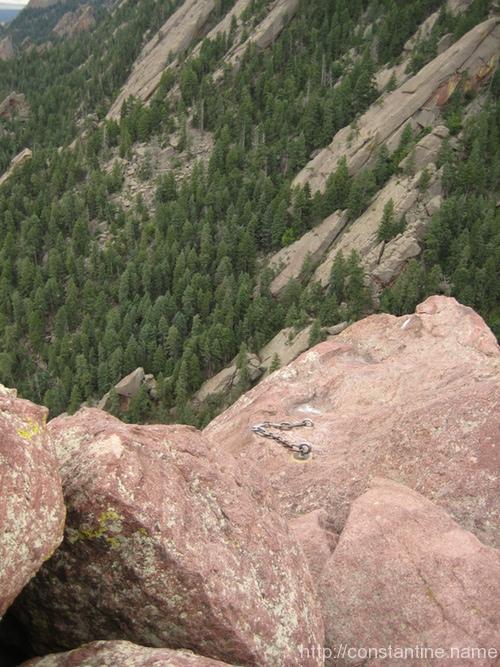
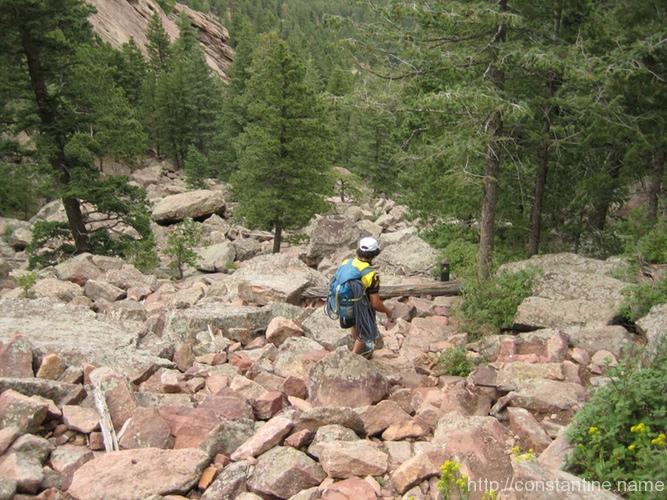
After you rappel, you “walk off” down a steep ravine filled with scree, between the 3rd and 2nd Flatirons. If you look closely in the first two photos, you can see “hikers” (or perhaps climbers walking off) on the rock to give you a feel for the scale.

ɕ
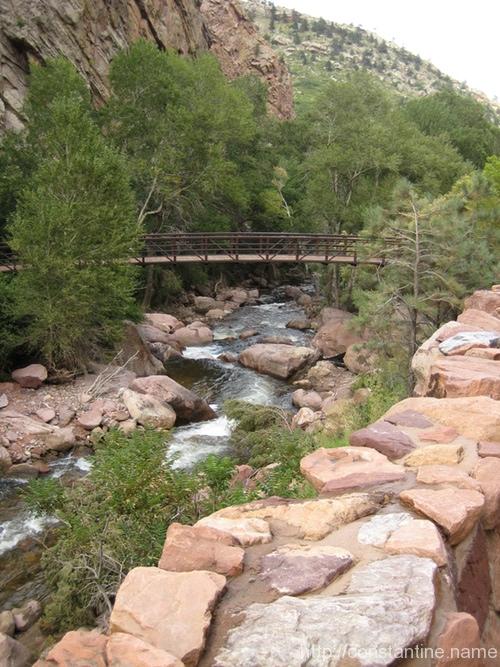
We were in Eldorado Canyon on three separate days. These photos are from Wednesday the 20th, when we went in to climb the Wind Ridge route on the Wind Tower. As you approach Eldorado Canyon, you’re driving into the “front range”. You leave the Flatirons to your right, and wind your way into the canyon.

Once you get inside the Eldorado Canyon State Park, there’s world class climbing just jammed everywhere. Just inside the park is a foot bridge that leads to the south side climbing, and the Bastile is just a few paces up the road.
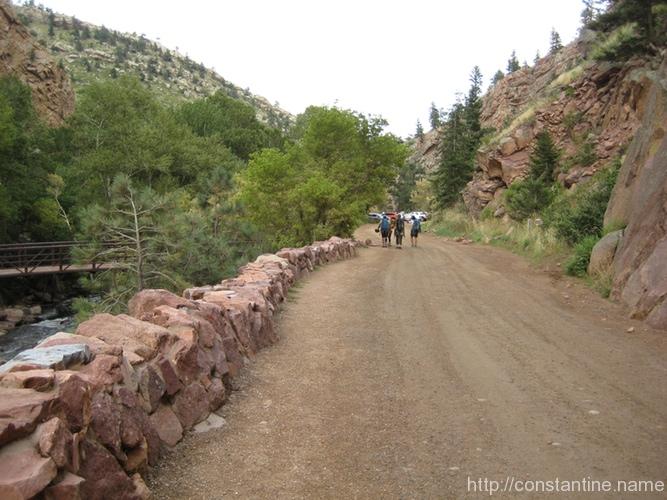
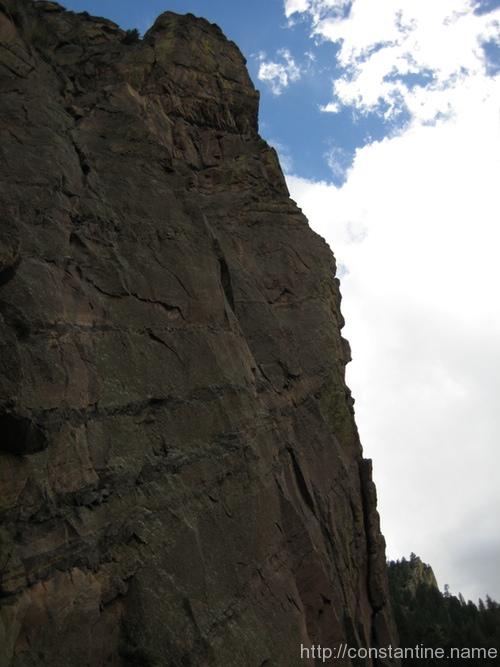
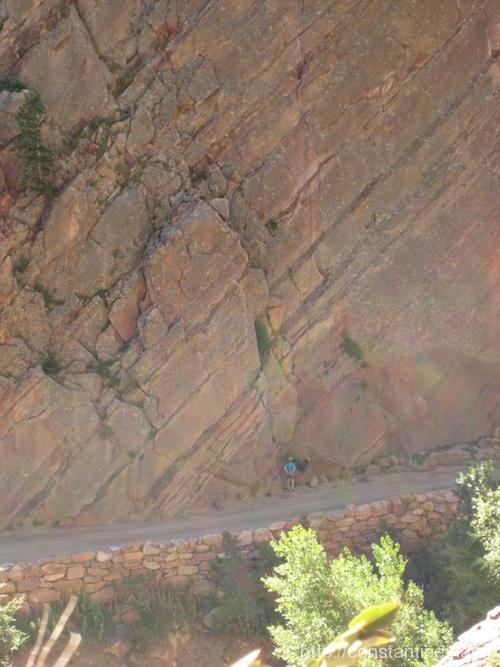
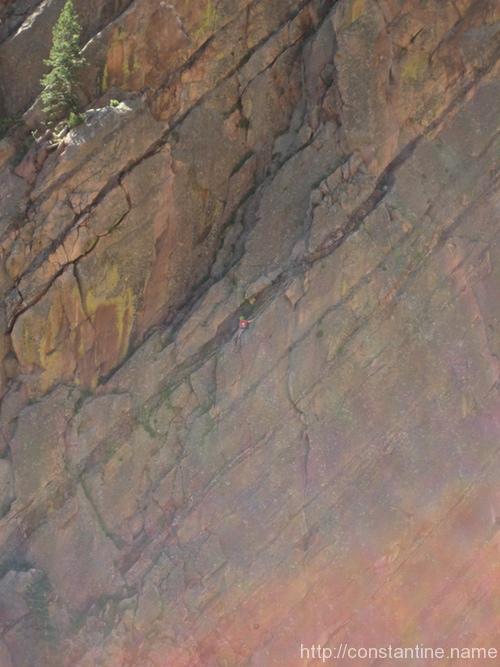
Climbers are always on the Bastile. At the bottom, they’re basically standing in the [dirt] road. But, you can see them from various other places in Eldo. Here, I took a pause climbing to get the camera out and snapped these photos across the canyon.
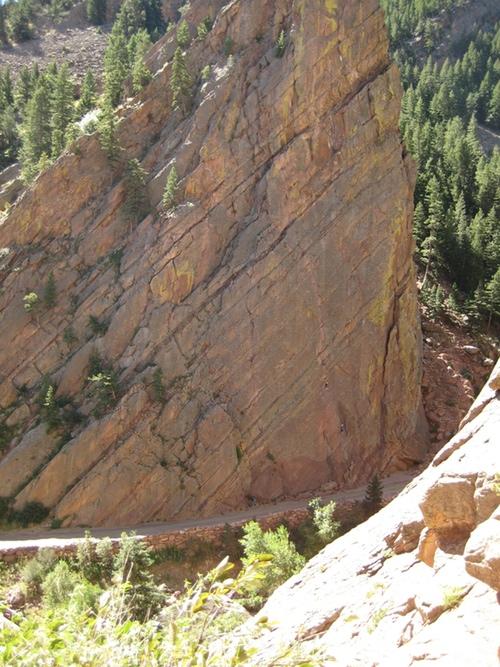
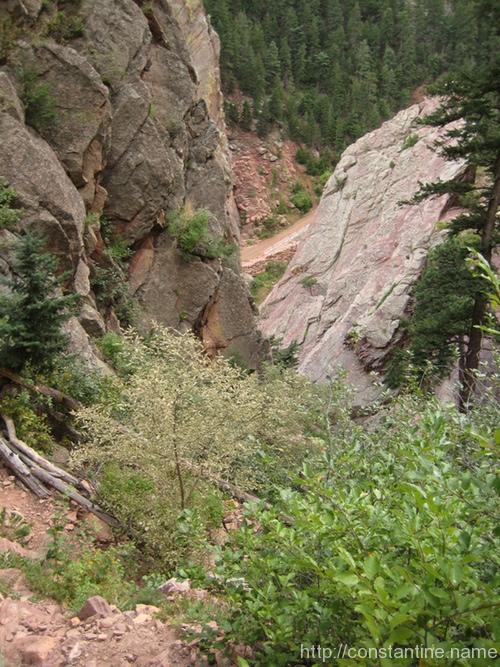
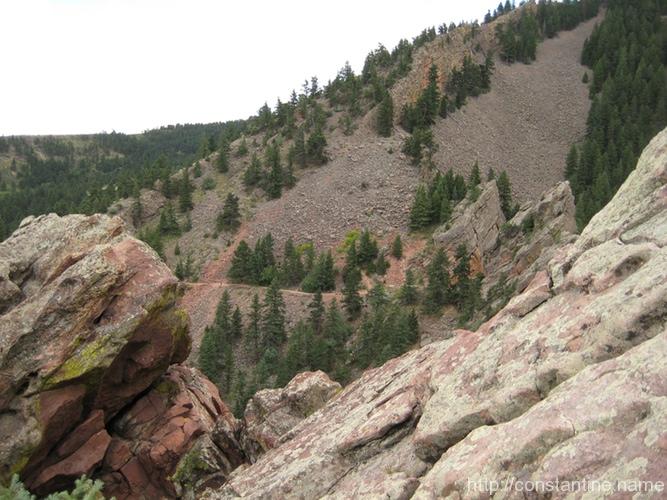
From the Wind Tower you get a better sense of the size and layout of the canyon. This first photo is taken while walking off after the climb. So we’re descending and heading back towards the creek and road. The second photo is from the very top of the Wind Tower, looking across the canyon (the road and creek, in the bottom of the canyon, are not visible.)
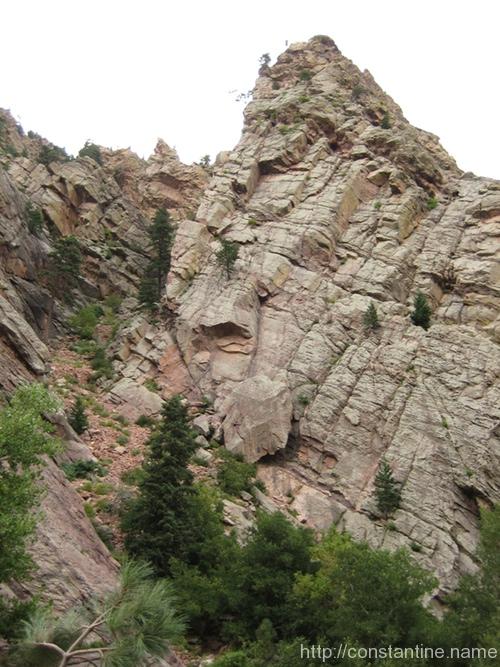
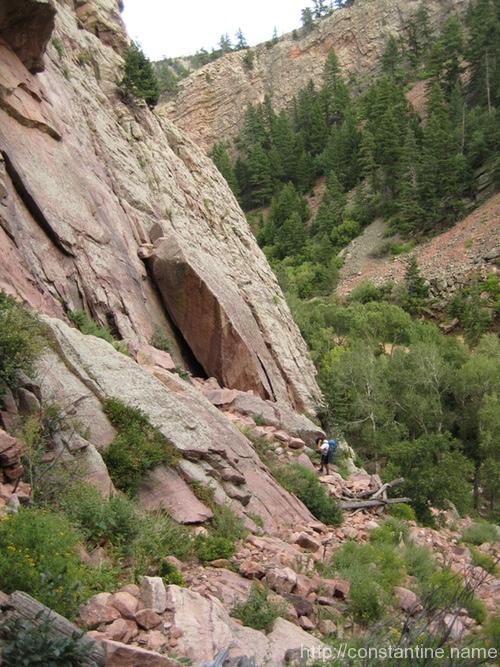
Finally, some views of the Wind Tower itself. As you enter the canyon, it is on the right — the lighter colored mass. The slightly darker rock, on the left, is another feature, with a trail snaking up between them into a high ravine. To get a sense of the scale, note the huge flake of stone that has slid off the tower.

ɕ
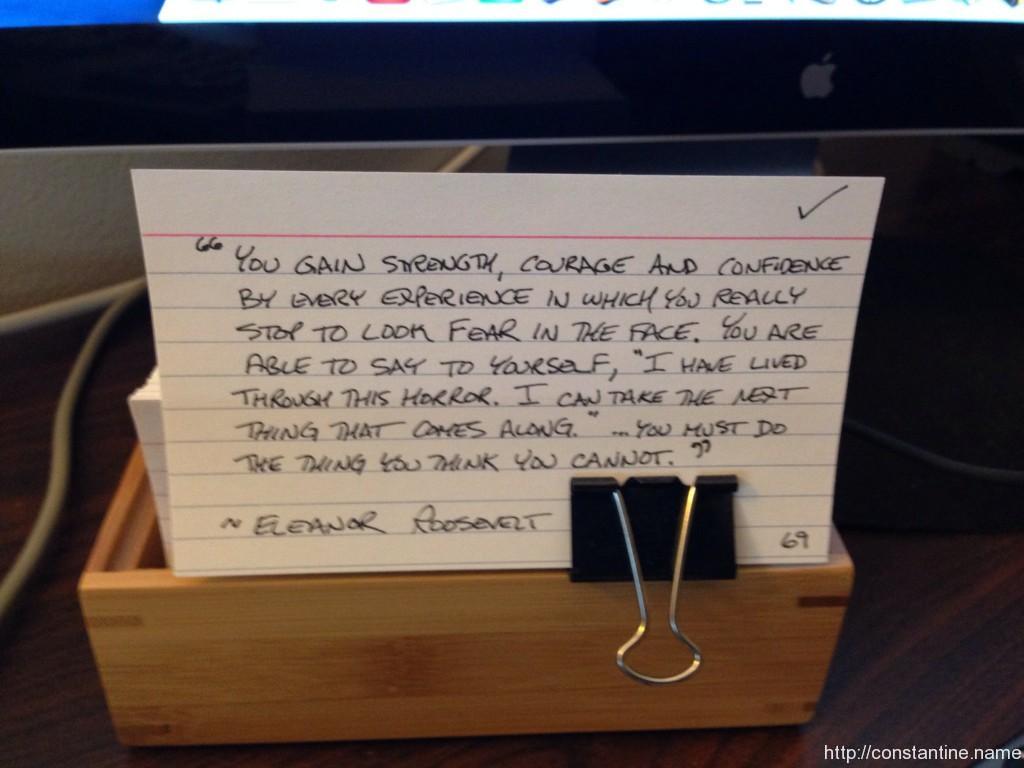
I left this quote on my desk when I left for Colorado. …and what a challenge it was!
ɕ