Don’t
I do NOT recommend using these plans to build a vault box. I’m putting this up for a historical record of what we did (so I don’t have to remember.) I’m already writing another article explaining a better way to build a vault box.
Really. Don’t build vault boxes using these plans.
Here’s the other design: LVPK vault box – second design.
Cut to the chase
Here’s the PDF: LVPK vault box – first design PDF.
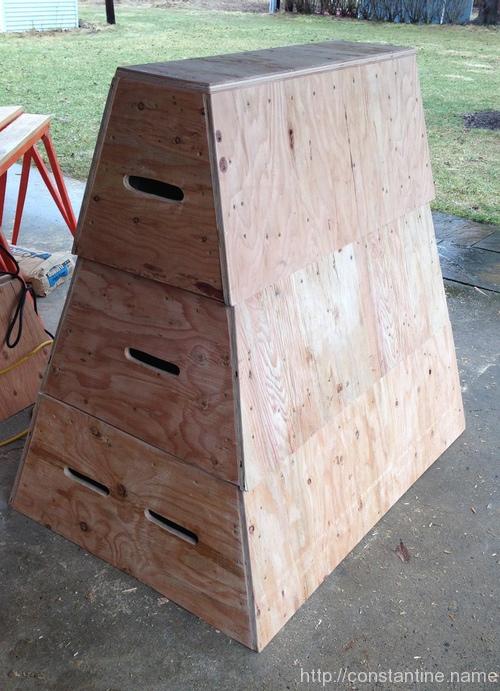
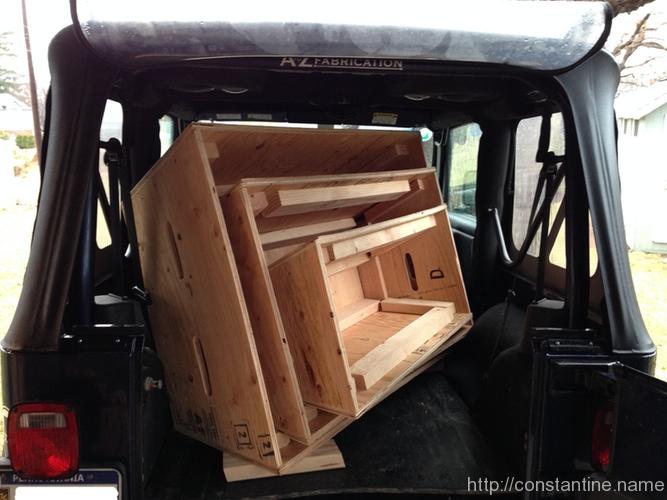
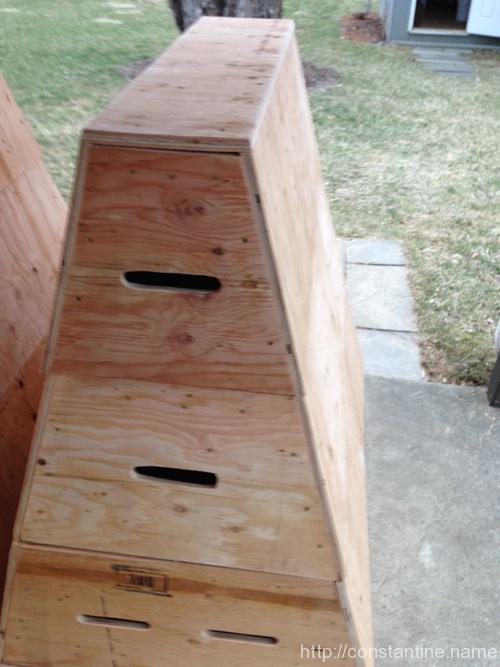
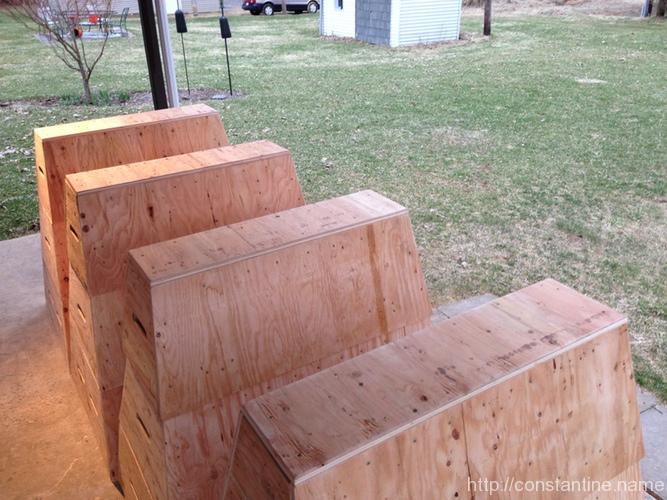
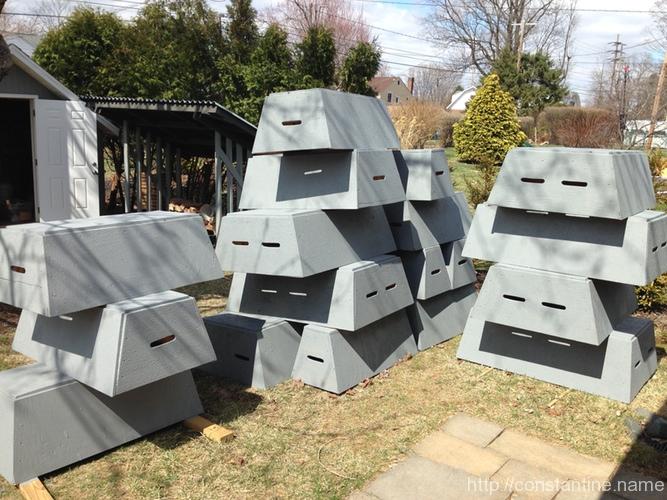
We, (Lehigh Valley Parkour) built 8 of these vault boxes. They are rock-solid, portable, stackable, etc. They’re great! …but you can do better. So I’m creating another set of plans from a slightly modified second design.
What we did that went right


You can get the materials for less than $100 per finished box. We collected $100 from everyone, up front and bought everything together in one go.
We built 8 of these. We started by building one box from start to finish. It was the worst box, but we learned a lot. Most importantly, you need one person who understands how the whole box should go together so you can make sure it goes correctly.
We had so much material, we rented a cargo van, (it was winter and we didn’t want to deal with unexpected bad weather messing up our scheduled “buy everything” date) to haul the 1,000+ pounds of lumber and plywood to where we were going to build. We had four people on the “buying night”, and then several 6-hour DAYS of 4, 6 and even 8 (on one day) people working on building these.
We had all the right tools. This is a lot of cutting and screw driving… circular saws are dangerous, second only to chain saws. We had people with safety glasses, ear plugs, work gloves. One guy working the circular saw with two helpers moving plywood. Other people with a battery drill to drill pilot holes, another person with a corded drill driving deck screws. People with orbital sanders and files, someone drilling the large holes and cutting the hand-hold slots. It was crazy.
What goes wrong
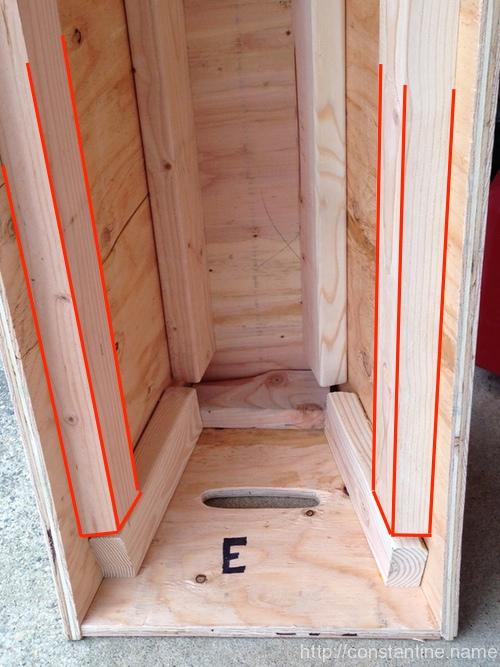
The root of the problem is that the design is sloped in both directions; There is a 15° lean from vertical on the “fronts”, (the bigger faces you’ll approach most often) and 7.5° on the “sides”, (the more narrow faces where the hand-holes for lifting are located.) This is simply too difficult to get it to work out correctly with rough lumber and basic building skills.

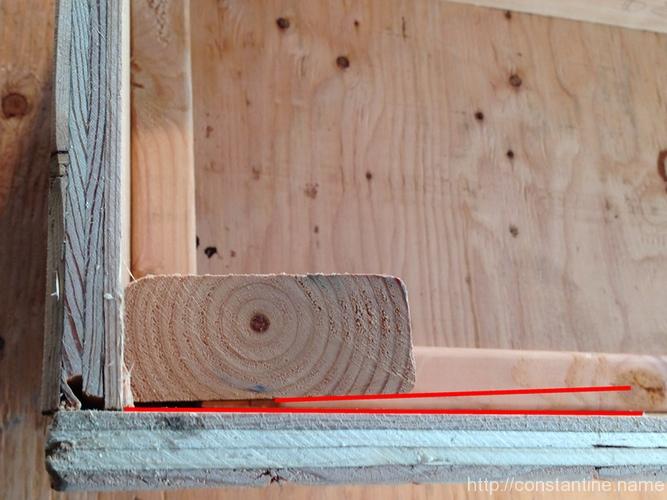
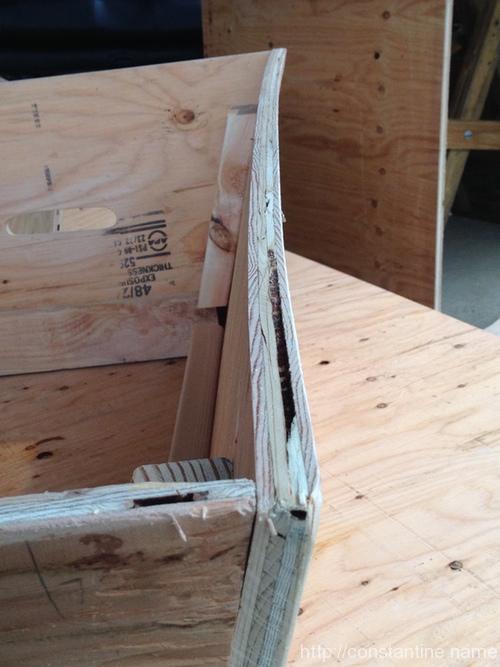
The biggest problem is that the corners are compound miters. In each corner there is a piece of 2×4. When you put a 90° angle (the corner of a 2×4) into the compound miter at the 15°/7.5° corner, you find out that you really need about a 93° corner on the 2×4. It almost works. The 2×4 goes in, but when you screw the faces together, it “pulls” the big face inward, making the plywood bow concave. That messes up the bottom of the box’s fit onto the next box below. I ended up adding some additional 2×4 strips near the bottom of the box front to straighten the faces… but it’s fiddly to get it to come out right.
When I was coming up with this design, I tried combinations of different angles and eventually settled on 15°/7.5° because:
- These angles make the finished boxes nest when you stack them in reverse order.
- When you stack them up, you won’t knock the pile over using the box.
- 15° and 7.5° are reasonable bevels to cut on plywood edges with a circular saw.
- You can measure convenient lengths of “2 inches” and “4 inches” and cut diagonally across the plywood strips for the box faces to get almost exactly the angles you need.
I also spent a lot of time adjusting dimensions to make the box as large as possible from only two sheets of plywood. There is very little scrap material left over.
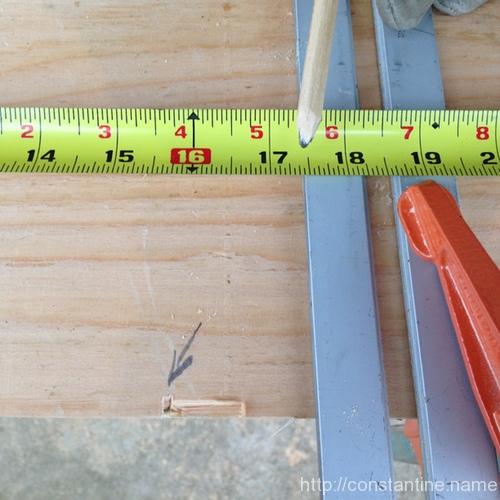
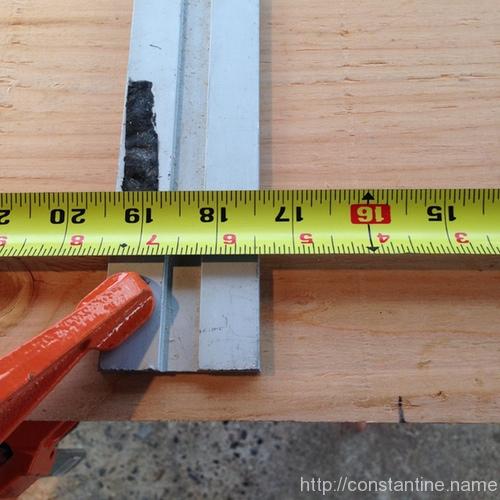
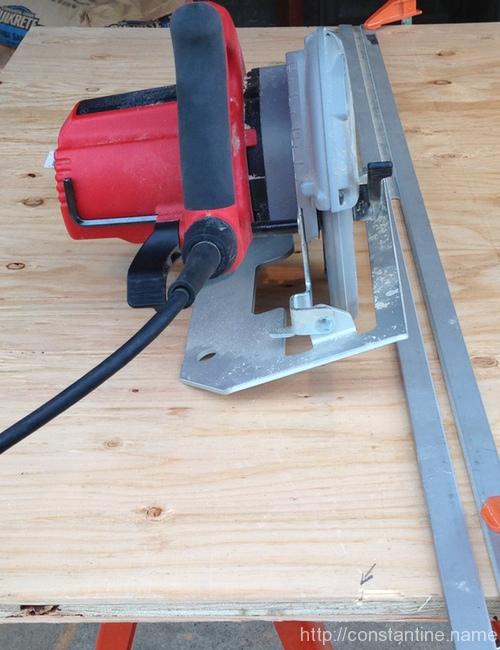
When building, getting the box to work out right is difficult; If anything is off by even ONE-QUARTER of an inch, then the box isn’t perfect. If anything is off by HALF an inch, you may not be able to get the box together at all. Every cut on the plywood has to be perfectly straight, which means you have to use a clamped straight edge to guide the saw on every cut and you must always get the bevel correctly arranged. So sometimes you have to cut “backwards”, (the opposite way from the normal, safe way you’d cut with a circular saw.)

Also, near the end of the plans it describes a little about how to put the top-piece of plywood on each box. It works fine for the top/smallest box. But for the middle and bottom, the way to do it is: measure the opening of the box above, then cut the plywood sheet and screw it to the box. It might not look perfect, but if you put the plywood on so it fits nice, the box above isn’t likely to fit correctly over it.
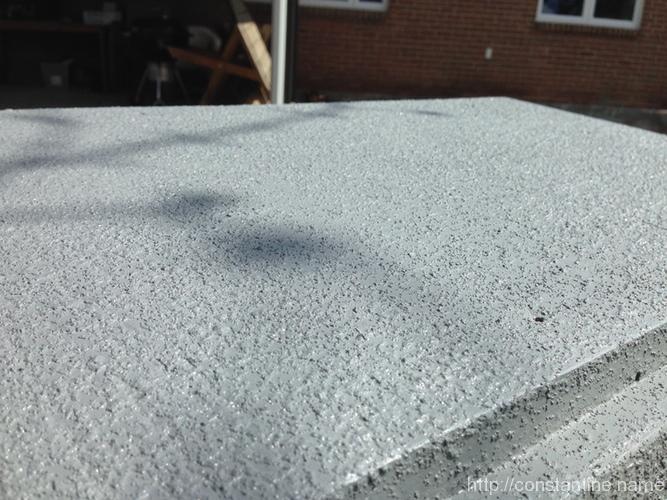
Finally, the plans, (in the notes near the back of the PDF) show how to figure out how much paint you need to paint them. We used a grey outdoor deck/porch paint, and we mixed in fine sand to give the box some traction. If you’re making artificial obstacles, may as well make them friendly too.
Specific notes
The PDF document above has notes added in red pencil:
Pages 1 and 2:
- We added hand-holes for lifting. They’re not shown on these sketches.
- “Bevel” means set the bevel angle on the circular saw, i.e., make the saw blade lean. Saws only bevel in one direction, so every cut in the plans has an arrow on end showing you which way to cut; This determines the orientation of the “under bite” made by the saw.
{ The saw we used is “right handed”, (as are most saws) the blade tips to the right, and the blade bites under to the left. Some of the cuts are difficult because the “easy” cut direction, (with the saw on the bigger part of the piece, dropping the cutoff away to the right) would produce the wrong bevel on the work. } - For cuts number ‘2’, ‘3’ (which you do twice) and ‘4’: The arrows point the wrong way; They should point to the right on the diagram so you have 3 cuts that are easy/the-right-way, and just the last one is “in the wrong direction”, against normal saw usage.
- This column shows you the materials you’re using up as you go along. It just helps you keep track of everything.
Page 2:
- Don’t bother stacking. Just measure, mark and cut each (‘A’, ‘B’ and then ‘C’) strip as shown.
- Yes, all the strips’ edges have a 7.5° bevel on them. Yes, it really does not matter which way you have the bevel when you cut the end-angles.
Page 3:
- Cut ALL of these cuts the other way. It’s easier. Cut ‘1’ just trims the sheet to put the bevel on, cut ‘2’ (5 times) drops strips off neatly. Then you turn the piece around and cut it the “wrong way”; “wrong” in terms of how you normally rest the saw and cut “off” the smaller part.
- Nothing to see here.
Page 4:
- This is the view of the end of the 2×4. Just run the saw along the right edge of the 2×4 steering generally straight.
Page 5:
- At least 3/4″, more is fine.
Pages 10 etc:
These are just some notes from figuring out how many boxes of screws we needed. (We didn’t put the exact number of screws in. We just went with “that’s probably enough”. And we ended up using only half the deck screws.) Also some calculations of how much paint we needed to buy.
Copyright
"Vault box design 1, sloped sides"
Copyright (C) 2014 Craig J Constantine

This information is free; you can redistribute it and/or
modify it under the terms of the GNU General Public License
as published by the Free Software Foundation; either version
2 of the License, or (at your option) any later version.

This work is distributed in the hope that it will be useful,
but WITHOUT ANY WARRANTY; without even the implied warranty
of MERCHANTABILITY or FITNESS FOR A PARTICULAR PURPOSE. See
the GNU General Public License for more details.

You should have received a copy of the GNU General Public
License along with this work; if not, write to the Free
Software Foundation, Inc., 51 Franklin Street, Fifth Floor,
Boston, MA 02110-1301, USA.
ɕ